Introduction
MicroPython is an implementation of the Python 3 programming language and targeted towards running on embedded development boards. FPGAs are well known for their flexibility and versatility so we can also run MicroPython firmware on a Soft-CPU implemented on FPGAs. In this article, we will use Litex & Migen frameworks to build the gateware (bitstream) for the FPGA and the MicroPython firmware for the soft-CPU running on FPGA. The TimVideos projects have come up with the LiteX Build Environment for easily building LiteX and Migen based FPGA designs. This article takes you through the steps to build the gateware and MicroPython firmware and to run MicroPython on the Mimas Artix7 FPGA Development board using the LiteX Build Environment.
Tools Required
- Mimas A7 FPGA Development Board
- Linux host system (example Ubuntu)
- USB 2.0 cable for programming the Mimas A7 board
- Xilinx Vivado Design Suite installed on the host system
Let’s get started
Step 1: Download the LiteX Build Environment
Download and extract the TimVideos LiteX Build Environment from here to a suitable location in your system. Change to the”litex-buildenv” directory (using cd). For this article, the author downloaded litex-buildenv inside the “LiteX_Build_Environment” directory. Modify the below command as appropriate in your case.
cd Litex_Build_Environment/litex-buildenv
Run “download-env.sh” script file inside “scripts” directory which will download the dependency packages required by the “litex-buildenv“.
./scripts/download-env.sh
Step 2: Source/Activate the litex-buildenv environment
Before running any of the build steps, the first step required is to enter the litex-buildenv environment.
Set up the environment variables that decide the FPGA board platform being used, CPU variant, target SoC configuration and the firmware using the following command.
export PLATFORM=mimas_a7 CPU=lm32 TARGET=base FIRMWARE=micropythonThe Litex Build Environment comes with Mimas A7 platform support. The ‘lm32’ and ‘base’ are the default soft CPU and target (SoC configuration) respectively. Litex-buildenv also supports other soft CPUs such as Vexriscv and Picorv32. Run the following command to enter the litex-buildenv environment with the previously set variables:
source scripts/enter-env.shIf the environment was set up correctly, the terminal should now show something like this:
(LX P=mimas_a7 F=micropython) #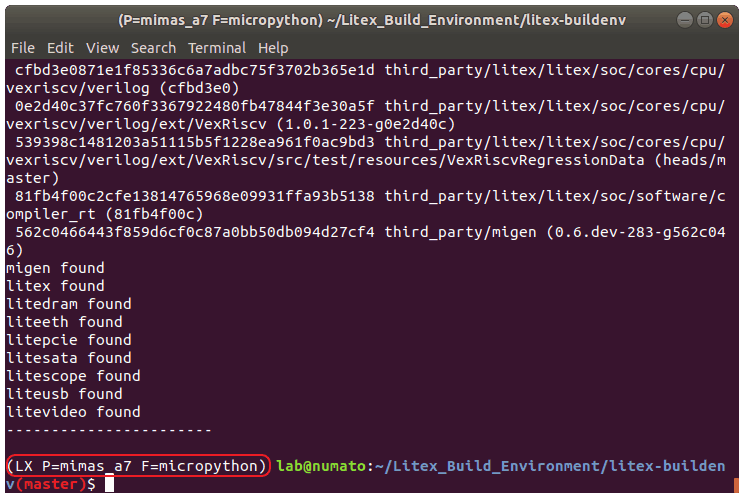
Step 3: Build the gateware
After entering the litex-buildenv environment, we can now build the gateware for build targets. To start the gateware build process, run:
make gateware
Building the gateware usually takes a couple of few minutes, depending on the host system’s performance. An output similar to the one shown in the image below means the gateware was successfully built and the bitstream (top.[bit|bin]) generated.
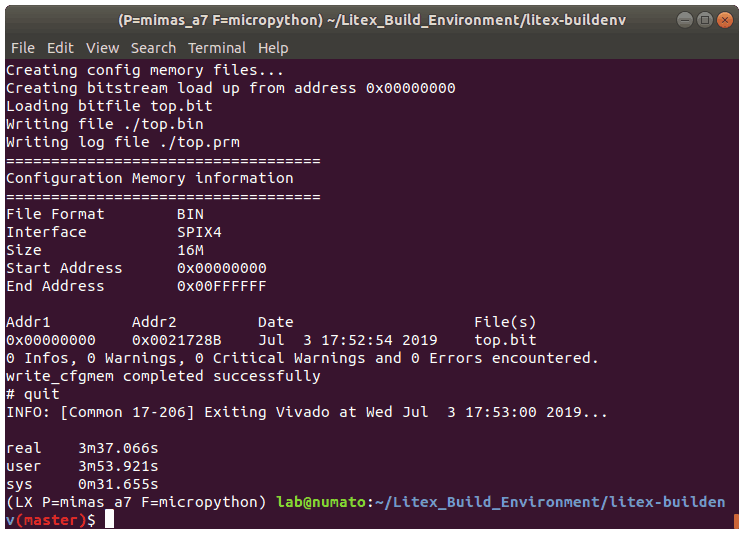
The generated bitstream and related gateware files can be found in the directory: build/mimas_a7_micropython_lm32/gateware/
Step 4: Build MicroPython Firmware
We need to generate the MicroPython firmware which runs on the soft CPU implemented inside FPGA. The LiteX Build Environment has a MicroPython script file that generates this MicroPython firmware. To generate MicroPython firmware, run:
./scripts/build-micropython.sh
Step 5: Load the Gateware and MicroPython to the Mimas A7
Once the gateware and firmware have been generated, the next step is to load the generated gateware and firmware to the Mimas A7 board. Connect the Mimas A7 board to the host system using a USB 2.0 Type-B cable. Open a new terminal window (keeping the existing terminal shell as it is, it will be used later) and enter into the litex-buildenv environment exactly as described in Step 2. Next, enter the following command in this new terminal:
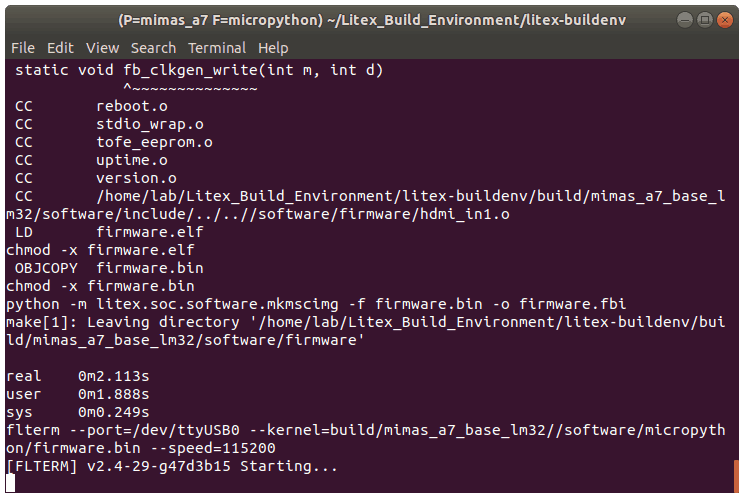
make firmware-load
The next step is to load the gateware onto the Mimas A7 board. Going back to the previous terminal, run the following command to load the gateware:
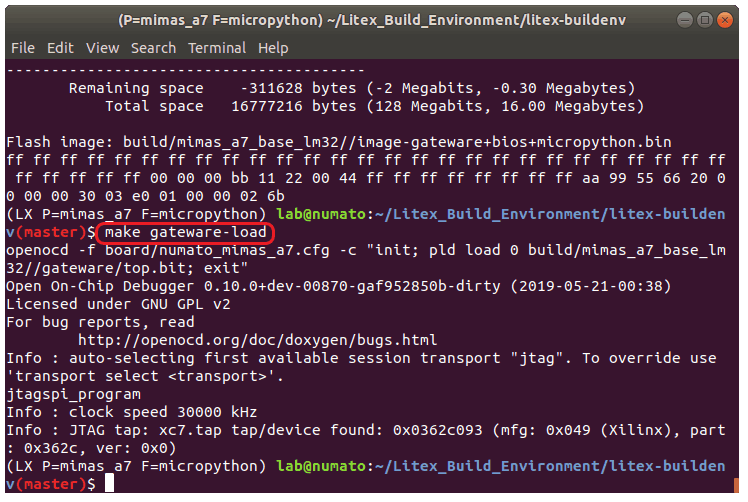
make gateware-load
The Done LED on the Mimas A7 board should glow on for a moment and then go off after running the above command. This indicates that the gateware was successfully loaded to the FPGA on-board Mimas A7.
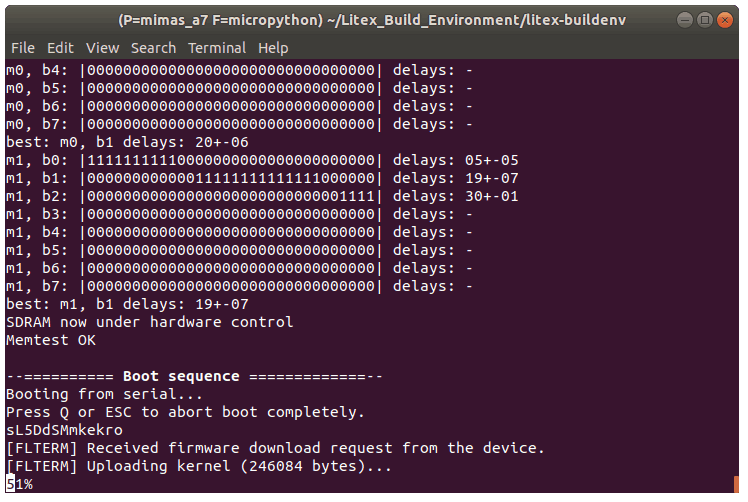
After loading the gateware onto Mimas A7, the MicroPython firmware should start loading on to the soft CPU in the second, newer terminal. The image below shows the MicroPython firmware being loaded to the soft CPU.
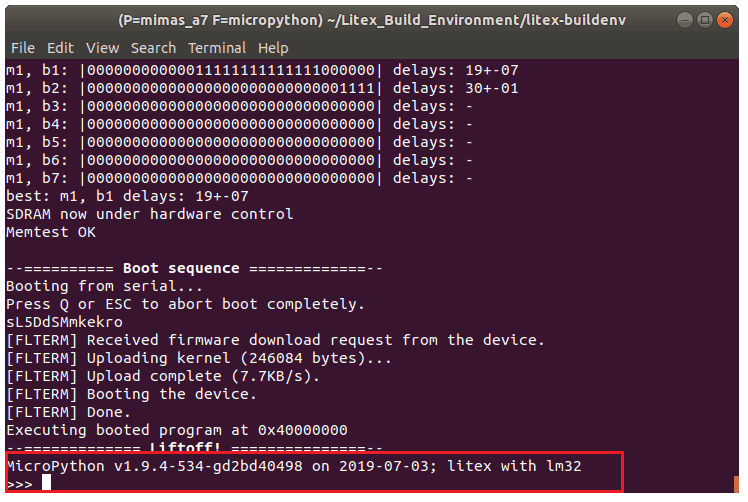
MicroPython should start executing as soon as uploading finishes and the MicroPython console should come up as shown in the image below.
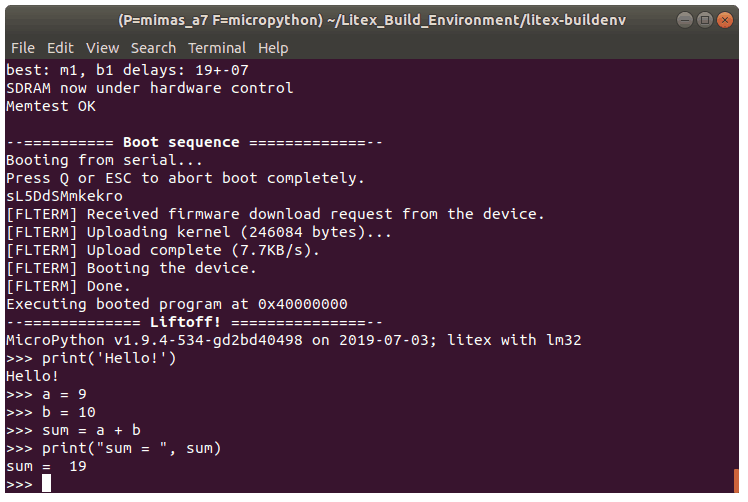
The MicroPython console can now be used to run any compatible Python3-like code. Standard Python constructs, features, and modules are available to the users. Refer to the MicroPython documentation for complete details.
Congratulations, you’ve successfully run MicroPython on the Mimas A7 board using the LiteX Build Environment!