Introduction
PetaLinux is an embedded Linux development toolchain provided by Xilinx, a leading provider of programmable logic devices (FPGAs) and system-on-chip (SoC) solutions. It is specifically designed to simplify the process of building, customizing, and deploying Linux-based firmware for Xilinx devices. It provides a set of tools, utilities, and libraries, along with pre-configured components and frameworks, to streamline the development process. It provides a wide range of configuration options to customize the Linux kernel, bootloader, root file system, and device drivers to match the target hardware and application requirements. In this article, we will use Vivado and PetaLinux to develop a basic custom application, that will print “Hello World” using Styx Zynq Module.
Styx Zynq Module
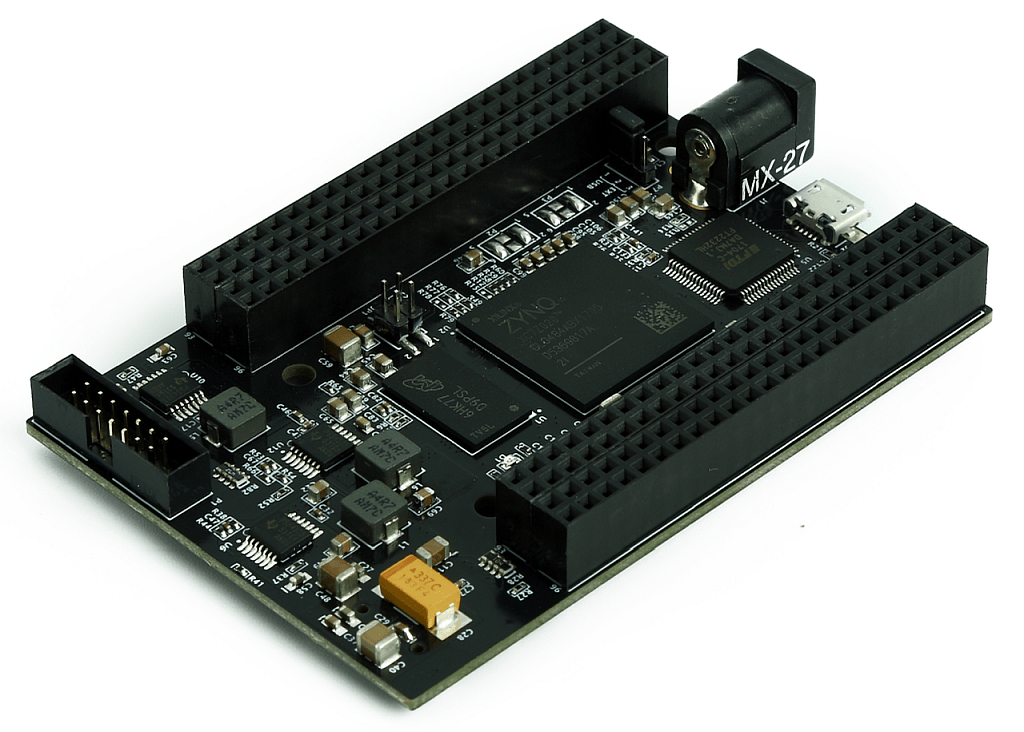
Styx Zynq Module is the first product from Numato Lab featuring Zynq-7000 SoC. Styx is pin-compatible with Numato Lab’s Saturn Spartan 6 FPGA module, Neso Artix 7 FPGA module and Skoll Kintex 7 FPGA module and allows for seamless upgrade in most cases. Styx offers built in USB 2.0 interface that can be used to program the board as well as do debugging or data transfer with the host.
Styx Zynq Module features a Zynq 7020 from Xilinx in CLG484 package. The unique feature of Zynq-7000 series is that they are complete System on Chip (SoC) with an FPGA die which makes it a very powerful combination. Zynq 7020 has dual-core ARM Cortex A9 and a whole bunch of peripherals which are typically found in SoCs. Additionally, it has Artix-7 equivalent programmable logic section, connected to SoC using AXI interconnects. This SoC + FPGA combination makes Zynq very flexible for multitude of uses. With Zynq 7020 on board, Styx is a great choice for learning, product development and OEM integration.
Prerequisites
To follow this article, you would need the following:
- Hardware:
- Styx Zynq Module
- Xilinx Platform Cable II JTAG debugger/ SD Card
- Software:
- Xilinx Vivado Suite
- PetaLinux
- FT_Prog tool for configuring on-board FT2232H USB Serial converter (download and install from FTDI website)
Let’s get started
Step 1:
The first step in working with PetaLinux involves creating the fundamental block design and generating an XSA (Xilinx System Archive) file using the Vivado Design Suite. Follow the instructions until “Step 14” in the article link provided here which is a step-by-step guide to create the Helloworld project.
Step 2:
Open terminal in the location of PetaLinux installation Directory and Set Up PetaLinux Working Environment.
source <path-to-installed-PetaLinux>/settings.sh

Step 3:
Create new project in a convenient location using zynq template. For this example, “Styx_Helloworld” is used as project name, but feel free to use any name. Type the command given below.
petalinux-create -t project -n New_Project/Styx_Helloworld --template zynq
Change the working directory to newly created project location using the command:
cd New_Project/Styx_Helloworld

Step 4:
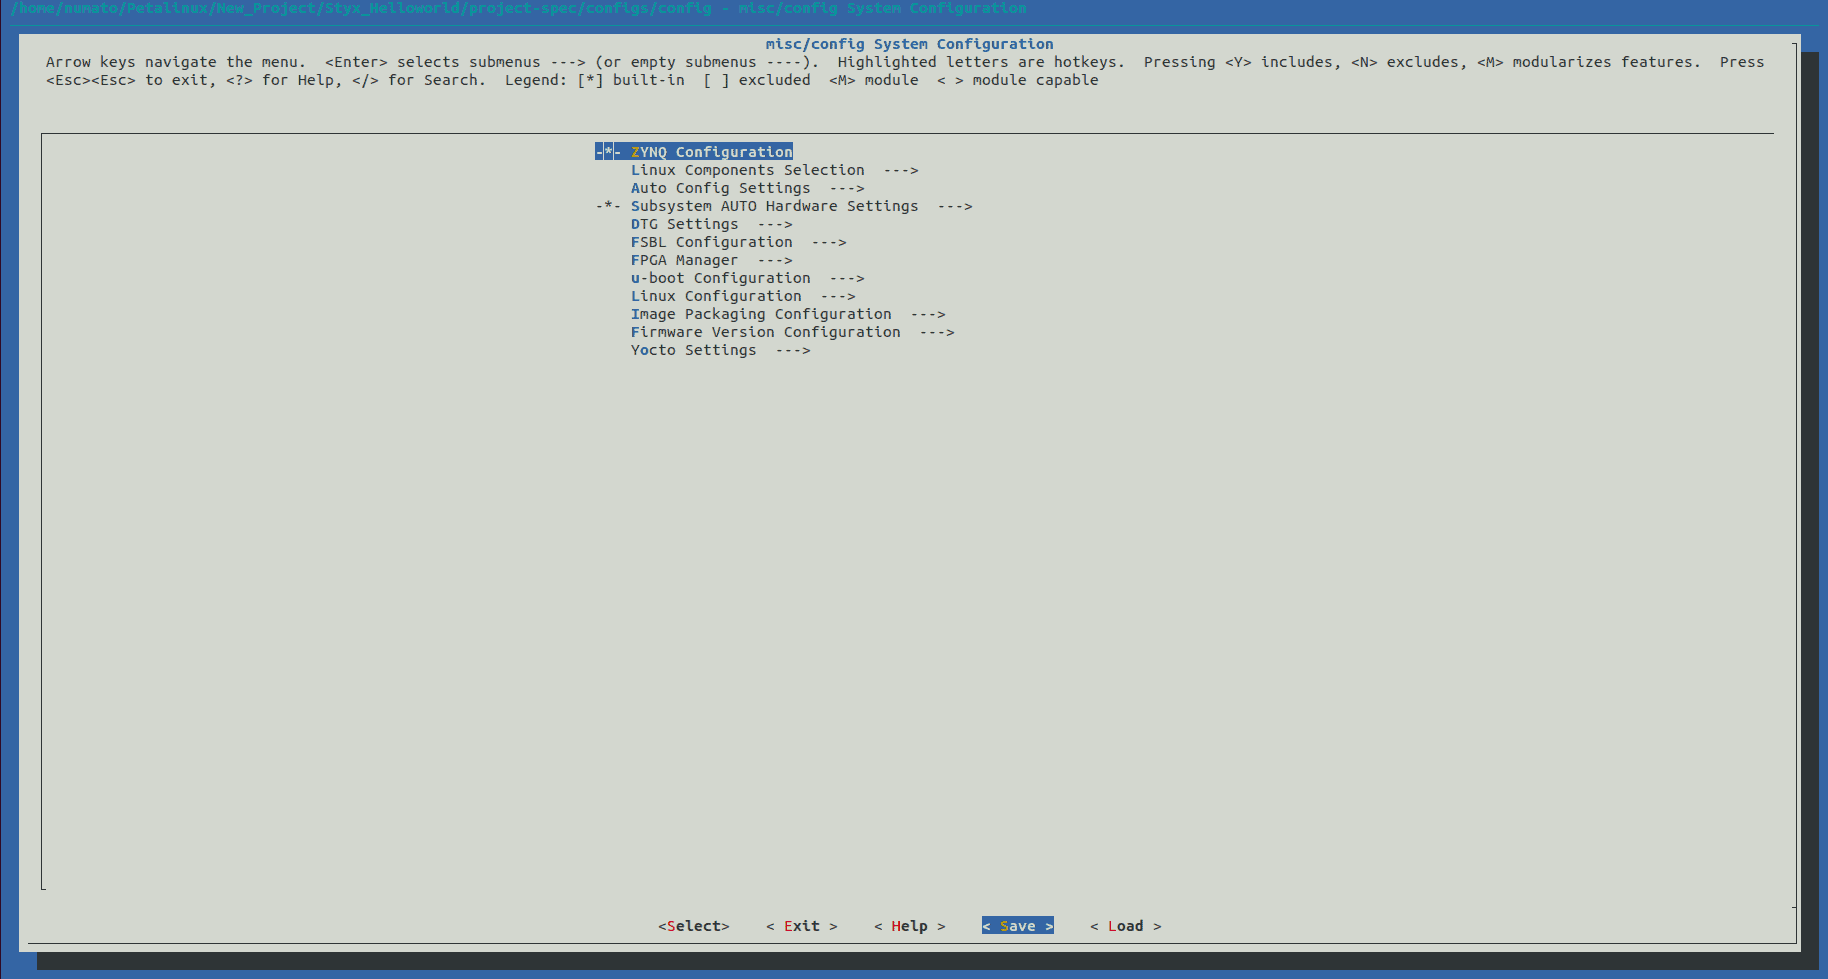
Include the XSA file, which is generated in the Vivado Design Suite, to this location by specifying the appropriate path.
petalinux-config --get-hw-description=<path-to-xsa>/styx_wrapper.xsa
A top system configuration menu will appear, and you can simply save the settings without making any modifications. You can save by selecting save –> ok –> Exit. You can exit the menu by selecting exit.
Step 5:
Generate a new application named “styx-helloworld-app” using the command given below in this directory using the C template.
petalinux-create -t apps --name styx-helloworld-app --template c
The app will be created in the location of <PetaLinux project directory>/project-spec/meta-user/recipes-apps/Styx-Helloworld-app. Changes can be made in “styx-helloworld-app.c” file located in “files” inside app directory.
Step 6:
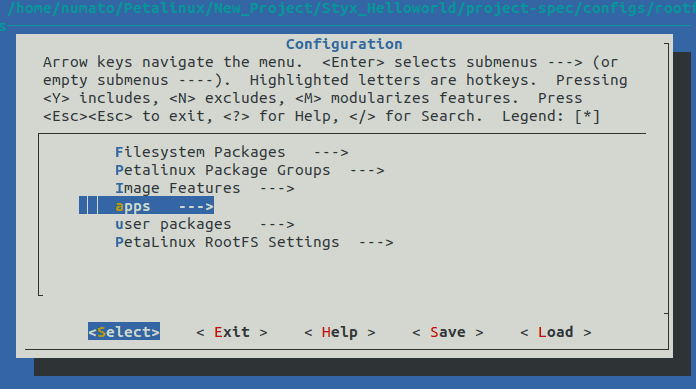
Execute the provided command to configure the root file system, and rootfs menu will appear.
petalinux-config -c rootfs
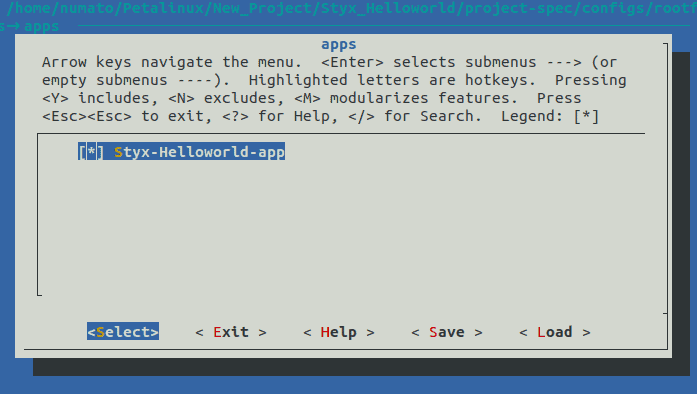
From the menu options, choose “styx-helloworld-app” under the “apps–>” section (Press the space key to select the desired options). Save the rootfs configuration and exit the menu.
Step 7:
Build the application first, followed by building the entire project. This will take a while.
petalinux-build -c styx-helloworld-app
petalinux-build
Step 8:
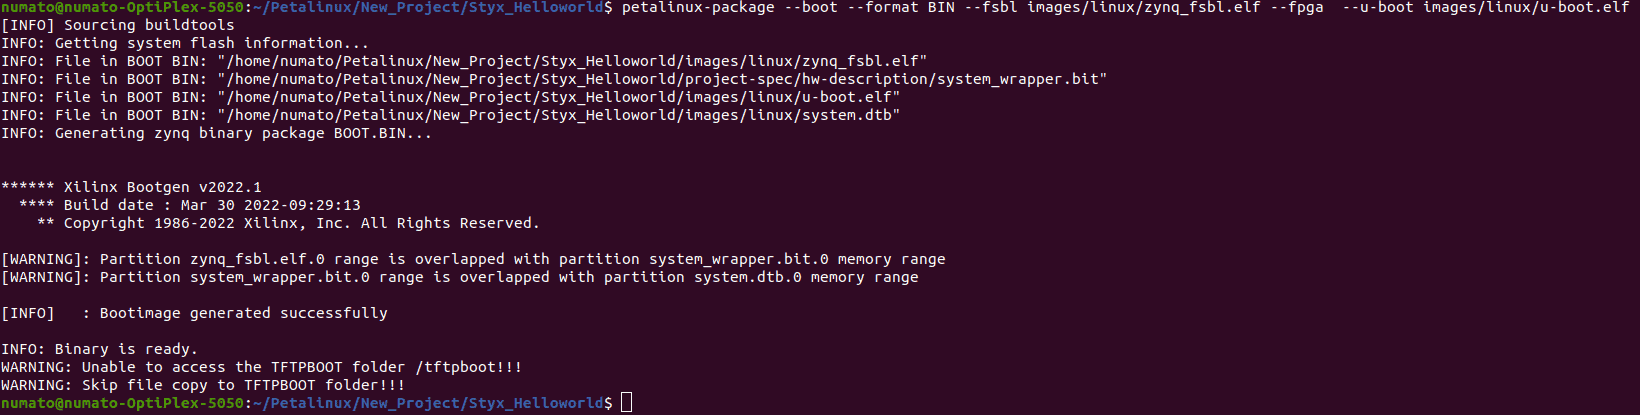
Package the files to generate the boot image and the final image, BOOT.BIN will be generated in the images/linux directory.
petalinux-package --boot --format BIN --fsbl images/linux/zynq_fsbl.elf --fpga --u-boot images/linux/u-boot.elf
Step 9:
We need a properly partitioned SD card for booting PetaLinux. Steps to partition SD card will be provided in the article given here. Copy the below mentioned files in the location “images/linux” to specific partitions.
To BOOT partition (partition 1), copy the following files:
- BOOT.BIN
- image.ub
- boot.scr
To rootfs partition (partition 2), copy the untarred file of the following:
- rootfs.tar.gz
Step 10:
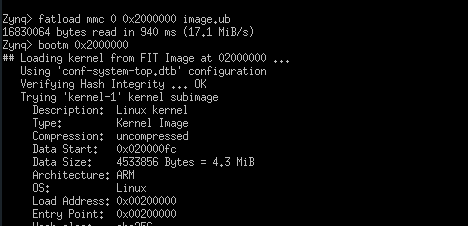
Insert the SD card into the SD Card slot of the Styx board and power it up. Ensure that the boot configuration of the board is set to SD card booting. Meanwhile, open any serial terminal (TeraTerm, putty ..etc) with the baudrate 115200. Then, execute the following commands in the serial terminal.
fatload mmc 0 0x2000000 image.ub
bootm 0x2000000
After booting, login to Linux system using username and password. Type username ‘petalinux’ and create new password if asked.
Now proceed to the application directory located at the path “usr/bin“.
cd /usr/bin

Run the application using the provided commands.
./styx-helloworld-app
![]()
If all processes were successful, running the application should result in the display of output “Hello World!“.