Introduction
MicroPython is a reimplementation of Python 3 programming language and optimized to run on microcontroller hardware and in a constrained environment. In this article, we will run MicroPython Firmware on an FPGA (Narvi Spartan 7 FPGA Module) board which is loaded with gateware containing a soft CPU. To create the gateware and firmware, we will use LiteX Build Environment by TimVideos. To know more about LiteX Build Environment, please visit LiteX and Migen.
Prerequisites
- Narvi Spartan 7 FPGA Module.
- Linux System (Ubuntu).
- USB A to Micro USB cable.
- DC power supply (+7 to +12V recommended).
Let’s get Started
All the steps are to be executed in a Linux system. Open Linux Terminal and follow the steps to create hardware/gateware, MicroPython firmware and to run them on Narvi. Screenshots are added wherever possible to help the reader to follow the steps.
Step 1: Download LiteX Build Environment
Install the Narvi Spartan 7 FPGA Module drivers in your Linux system by following the steps mentioned in Narvi User Manual.
Download TimVideos LiteX Build Environment from here to a convenient location in the Linux system. In the terminal, change directory to the litex-buildenv repository by executing (For example, if it is downloaded in the home directory) the command:
cd litex-buildenv
To install the dependency packages for the built environment, run download-env.sh script file by executing the command:
./scripts/download-env.sh
We will use OpenOCD to program Narvi Spartan 7 FPGA Module. So, download its configuration file “numato_narvi.cfg” from here and save it in litex-buildenv/build/conda/share/openocd/scripts/board/ directory.
Step 2: Enter the Environment
Before running any of the build steps, we must first enter the development environment. This step should be done whenever we open a new terminal window.
First set up the build targets by executing the following command:
export PLATFORM=narvi CPU=lm32 TARGET=base FIRMWARE=micropython
The Litex Build Environment that we have downloaded has Narvi platform support, so we can directly set the Narvi as the platform. The lm32 and base are the default Soft CPU and Target respectively. If we haven’t set the soft CPU and Target, by default lm32 and base will be the Soft CPU and Target here. We can also use other soft CPUs that are supported by the LiteX Build Environment.
Set up the environment for the above build targets by executing the following command:
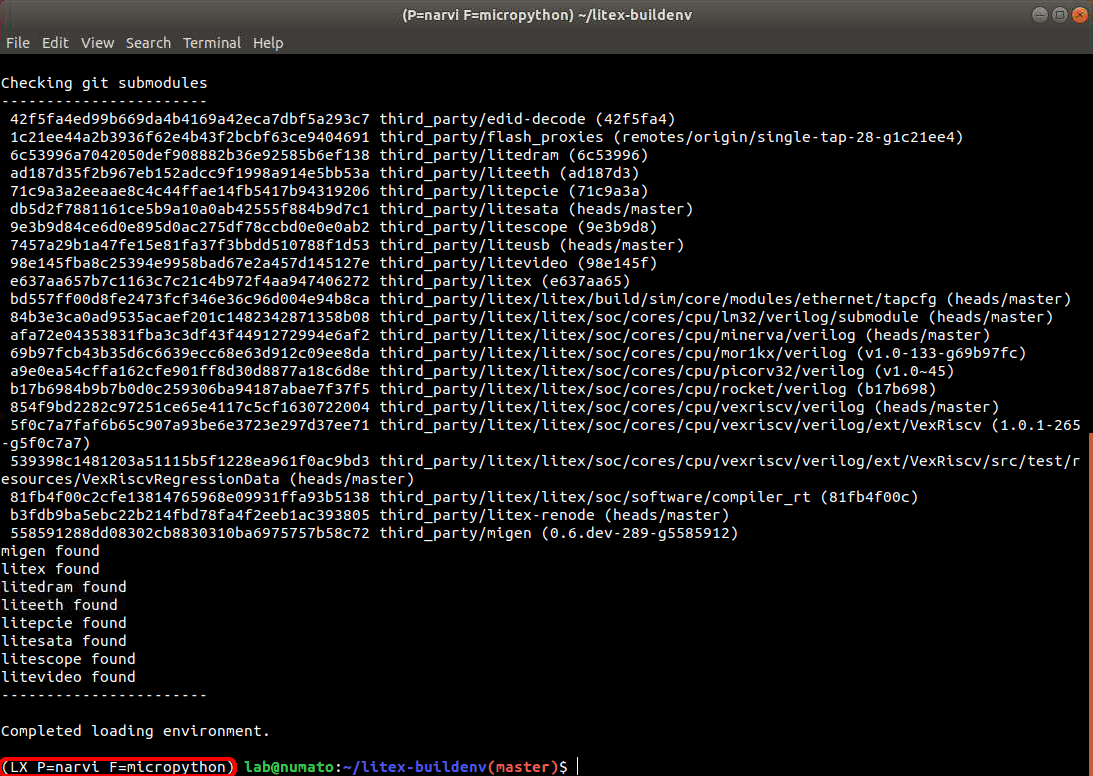
source scripts/enter-env.sh
If the environment is set up correctly, then the terminal should show something like "(LX P=narvi F=micropython) #" similar to the image below.
Step 3: Build the Gateware
Once we have entered the environment, we can build the gateware by executing the command:
make gateware
On successful completion of building the gateware, the terminal will give an output similar to the following image.
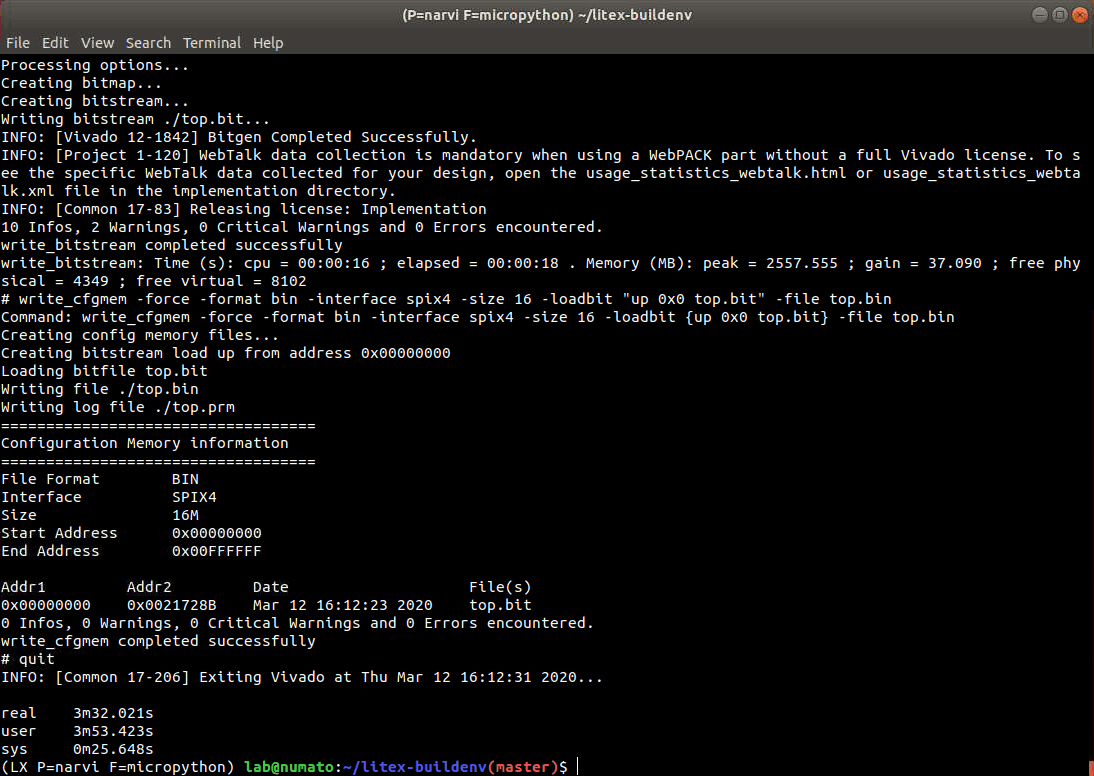
The “build gateware” can be found in build/narvi_micropython_lm32/gateware/ location.
Step 4: Build MicroPython
We need to generate the MicroPython firmware to load it on the soft CPU. The LiteX Build Environment has a MicroPython script file that generates the MicroPython firmware. To generate it run the build-micropython.sh shell file by executing the command:
./scripts/build-micropython.sh
Step 5: Loading the Gateware and MicroPython onto the Narvi
Gateware and Firmware are built in the previous steps, now we can move forward with loading them onto the Narvi Spartan 7 FPGA Module. Power up Narvi by an external DC power supply and connect it to the Linux system through a USB A to Micro USB cable. We will open a new terminal by clicking “File->New Window” to run the Firmware. In the New terminal, enter the development environment by repeating step 2, and load the firmware by executing the command:
make firmware-load
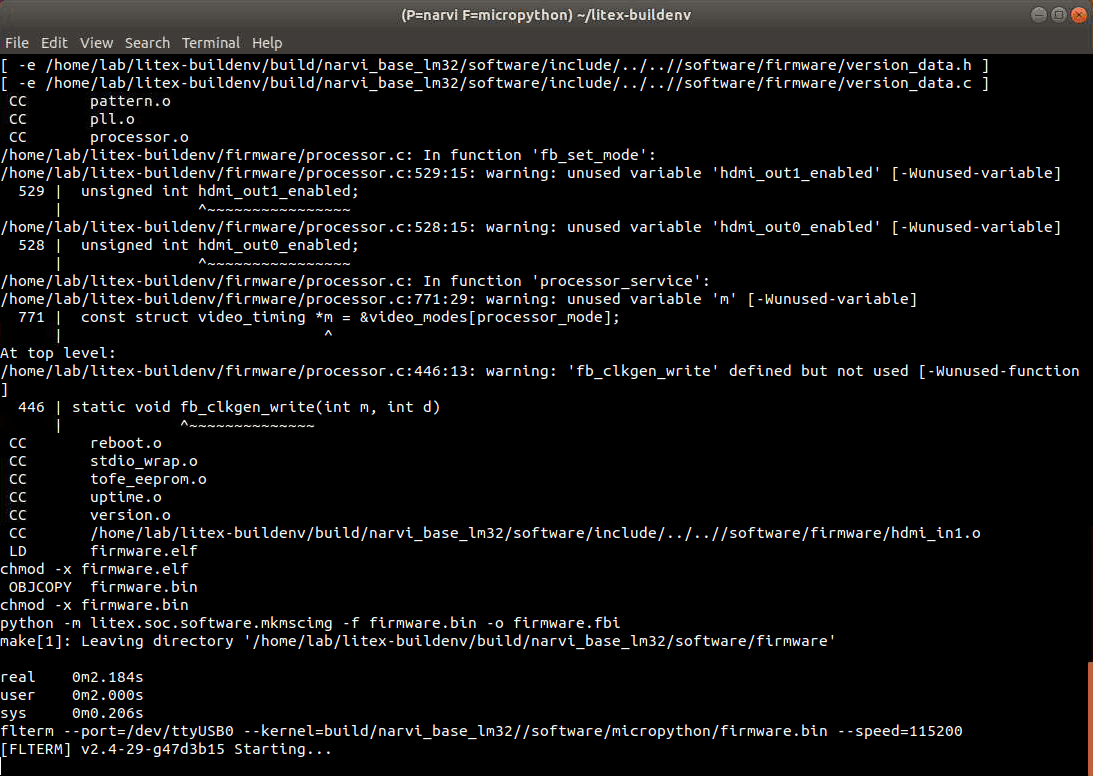
We can see the FLTERM tool “Starting” that connects with Narvi using /dev/ttyUSB. Load the gateware by executing the following command in the older terminal window.
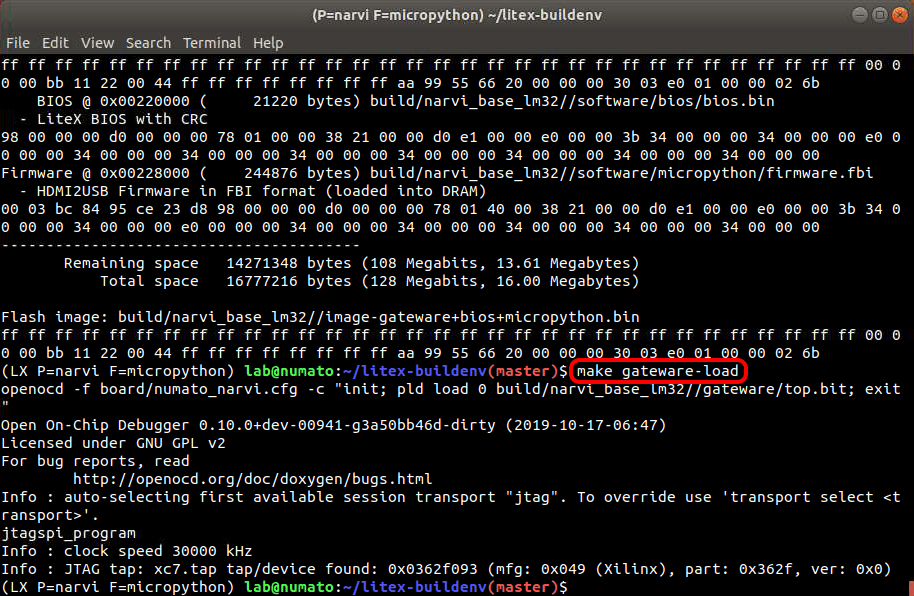
make gateware-load
The Done LED present on the Narvi FPGA Module should glow, indicating loading of the gateware onto the board when the above command is executed.
Once the gateware is loaded, Zephyr RTOS firmware starts loading onto the soft CPU. We can observe this in the new terminal window we had opened at the beginning of this step.
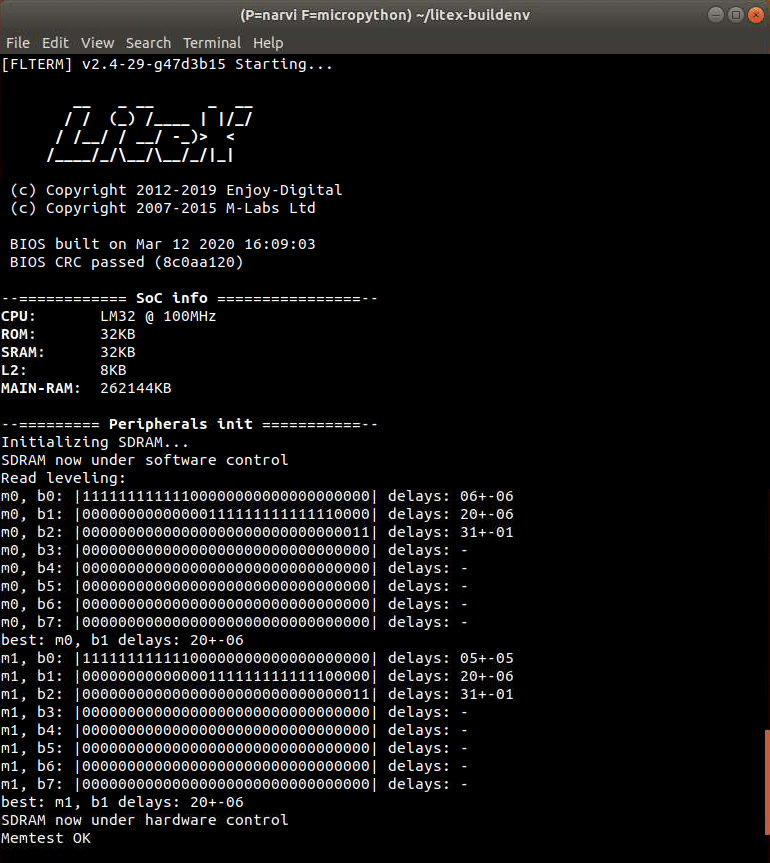
MicroPython starts booting as soon as the firmware finishes loading, and we will get a MicroPython console similar to the below image.

What are we waiting for? let us execute the classic “Hello World” and a “Simple Addition” program in the MicroPython console.
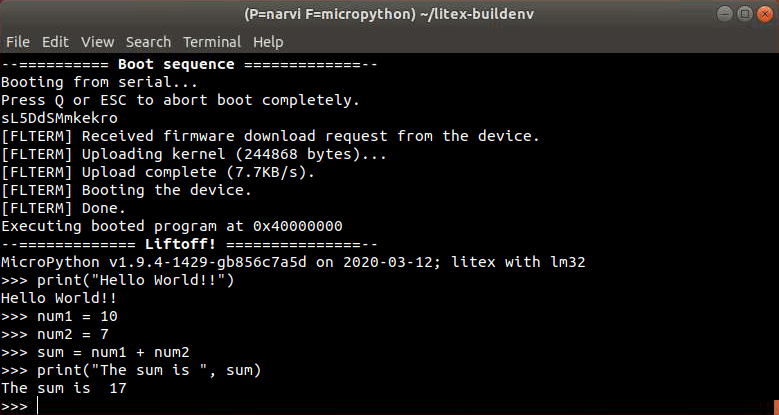
Finally, we are successful in running MicroPython on Narvi Spartan 7 FPGA Module.