The previous article walked through the steps to program the Mimas A7 FPGA Development board using OpenOCD and XC3SProg in Windows. Similarly, this article will walk you through the steps to program Mimas A7 in Linux using OpenOCD and XC3SProg. This article uses Ubuntu 20.04 LTS Linux distribution as an example, but any other Linux distribution should also work just fine.
Programming Mimas A7 using OpenOCD in Linux
SRAM Programming
Step 1: Downloading and installing OpenOCD
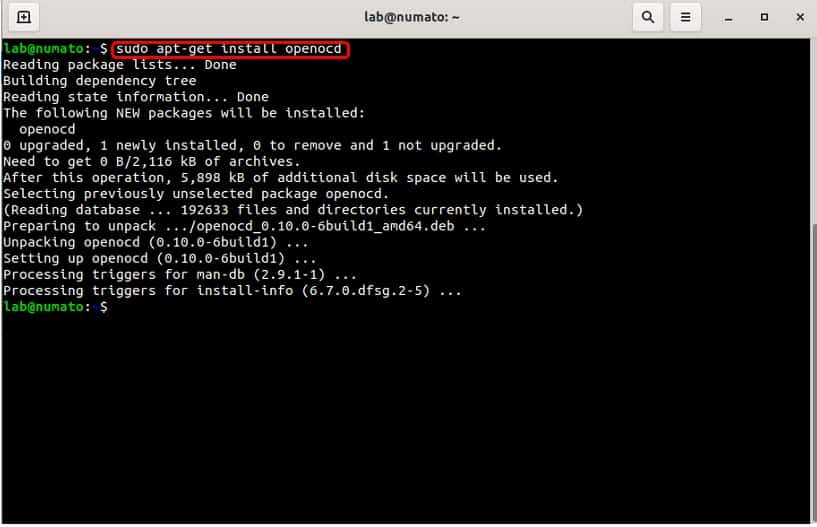
Run the following command in the terminal to download and install OpenOCD in the system:
sudo apt-get install openocd
Step 2: Downloading and adding Mimas A7 configuration file
Download Mimas A7 configuration file numato_mimasa7.cfg from here and save the file to “/usr/share/openocd/scripts/board/” directory.
Step 3: Programming Mimas A7 using OpenOCD
Connect Mimas A7 FPGA Development Board to the Linux system using a USB Type-B cable. Run the following command in the terminal. Replace <bitstream_file_path> with the actual .bit file path that is to be programmed to the board.
openocd -f board/numato_mimasa7.cfg -c "init" -c "pld load 0 <bitstream_file_path>" -c "shutdown"
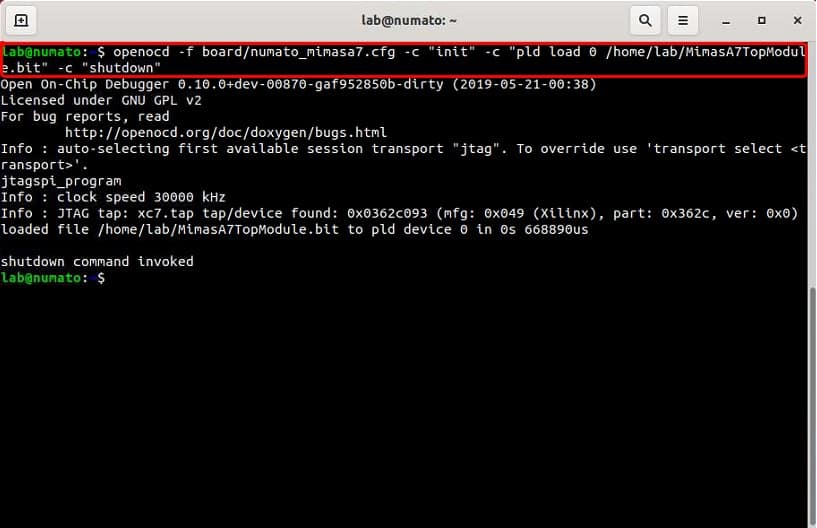
And that’s it, the Mimas A7 board should now be programmed with the bitstream using OpenOCD, without the need for any external JTAG hardware.
Flash Programming
Step 1: Initialization
Make sure OpenOCD is install and the required configuration file is added in the appropriate folder. Download the required JTAG SPI proxy bitstream for Mimas A7 (bscan_spi_xc7a50t.bit) to acquire the details of the on-board flash memory from here.
Step 2: Flash Programming Mimas A7 using OpenOCD
Connect Mimas A7 FPGA Development Board to the Linux system using a USB Type-B cable. Run the following command in the terminal. Replace <proxy_bitstream> with the downloaded JTAG SPI proxy bitstream path. Also, replace <bitstream_file_path> with the actual .bin file path and <addr> with the offset address that the bitstream needs to be programmed onto the flash memory.
openocd.exe -f board/numato_mimasa7.cfg -c "init" -c "jtagspi_init 0 <proxy_bitstream>" -c "jtagspi_program <bitstream_file_path> <addr>" -c "shutdown"
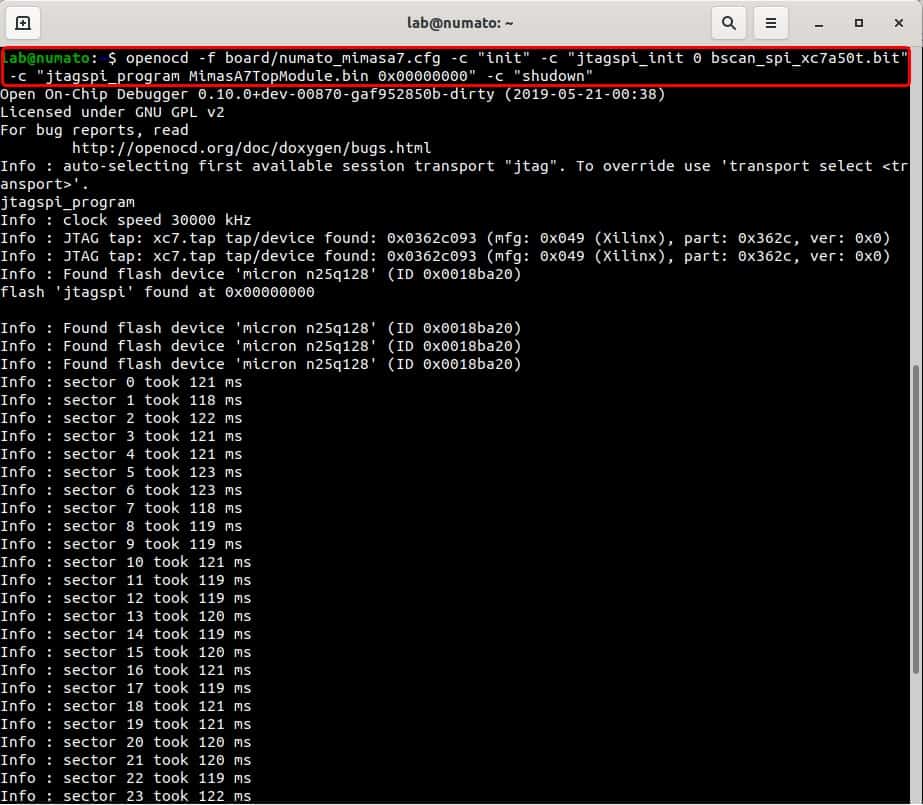
Recycle the power of Mimas A7 and the it will boot the program from the flash memory. And that’s it we have successfully flash programmed Mimas A7 using OpenOCD.
Programming Mimas A7 using XC3SProg in Linux
SRAM Programming
Step 1: Downloading and installing XC3SProg
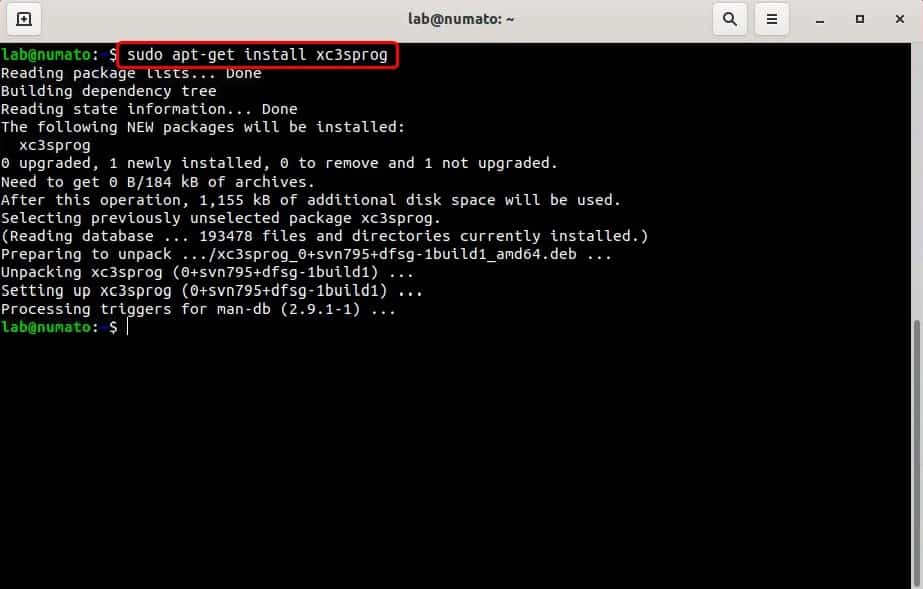
Run the following command in the terminal to download and install XC3SProg in the system:
sudo apt-get install xc3sprog
Step 2: Downloading XC3SProg files for Mimas A7
Download XC3SProg files for Mimas A7 from here, and change directory (using cd) to the downloaded folder in the terminal.
Step 3: Programming Mimas A7 using XC3SProg
Connect Mimas A7 FPGA Development Board to the Linux system using a USB Type-B cable. Run the following command in the terminal. Replace <bitstream_file_path> with the actual .bit file path that is to be programmed to the board.
xc3sprog -c mimas_a7 <bitstream_file_path>
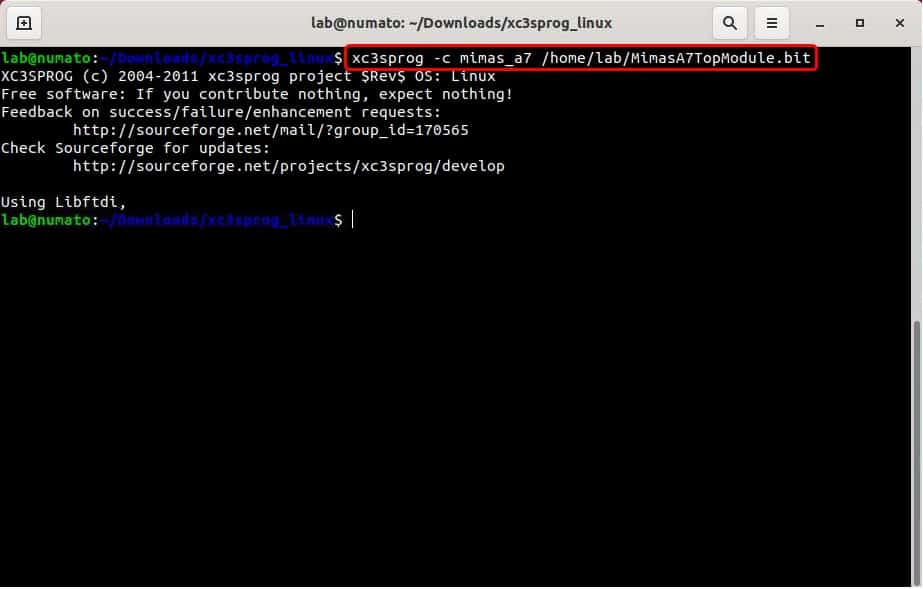
And that’s it, the Mimas A7 board should now be programmed with the bitstream using XC3SProg, without the need for any external JTAG hardware.
Flash Programming
Step 1: Initialization
Follow the steps 1 and 2 from SRAM Programming using xc3sprog.
Step 2: Flash Programming Mimas A7 using xc3sprog
Connect Mimas A7 FPGA Development Board to the Linux system using a USB Type-B cable. Run the following commands in the terminal. Replace <bitstream_file_path> with the actual .bit file path that is to be programmed to the flash memory.
xc3sprog -c mimas_a7 bscan_spi/bscan_mimas_a7_xc7a50tfgg484.bit
xc3sprog -c mimas_a7 -I <bitstream_file_path>
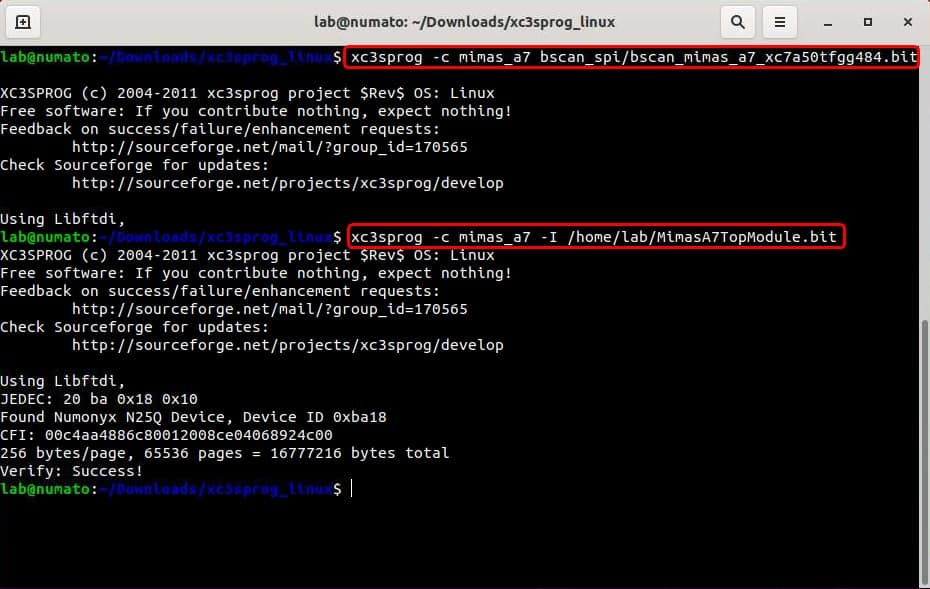
Recycle the power of Mimas A7 and the it will boot the program from the flash memory. And that’s it we have successfully flash programmed Mimas A7 using xc3sprog.