Rhea is designed to be minimal and less cluttered but still offers quite a bit of customization to make the interface more usable. There are no application specific settings such as UI panel colors etc.. available as of writing this article but we expect such settings to be available as the software is evolves over time. But Rhea offers customization of lot of fields specific to the attached devices.
Editing device information and basic parameters
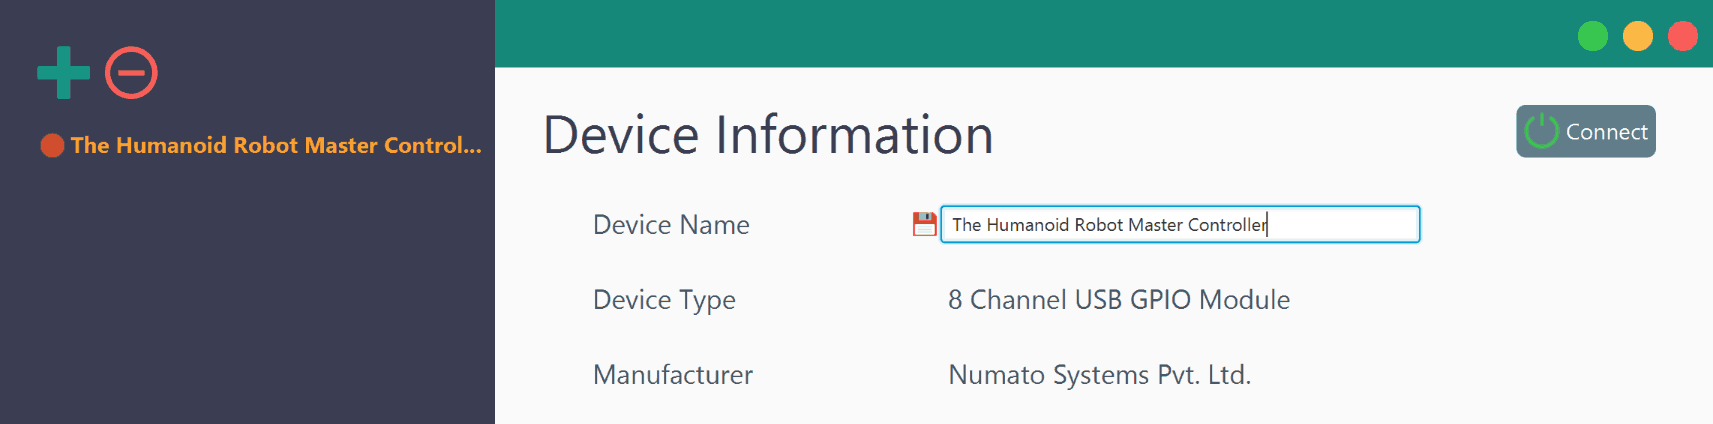
Each connected device has an associated Device Information panel. This panel can be viewed by simply clicking on the device name in the device tree on the left. Device information panel displays all relevant information about the selected device such as name, IP/Port etc.. This panel also allows the user to edit several of the fields as well. One of the most useful fields is the device name field. This field allows the user to change the device name to something that makes more sense in the specific context. For example, naming a relay module used for controlling lighting “Floor Lighting Controller” makes more sens that simply leaving the name “8 Channel USB Relay Module”. This is especially helpful when there are several devices connected to the same PC and is being controlled by Rhea.
Editable fields will have a pencil icon next to them. The field can be edited by clicking the pencil icon. After making changes, click the save icon or press ENTER key to save the changes.
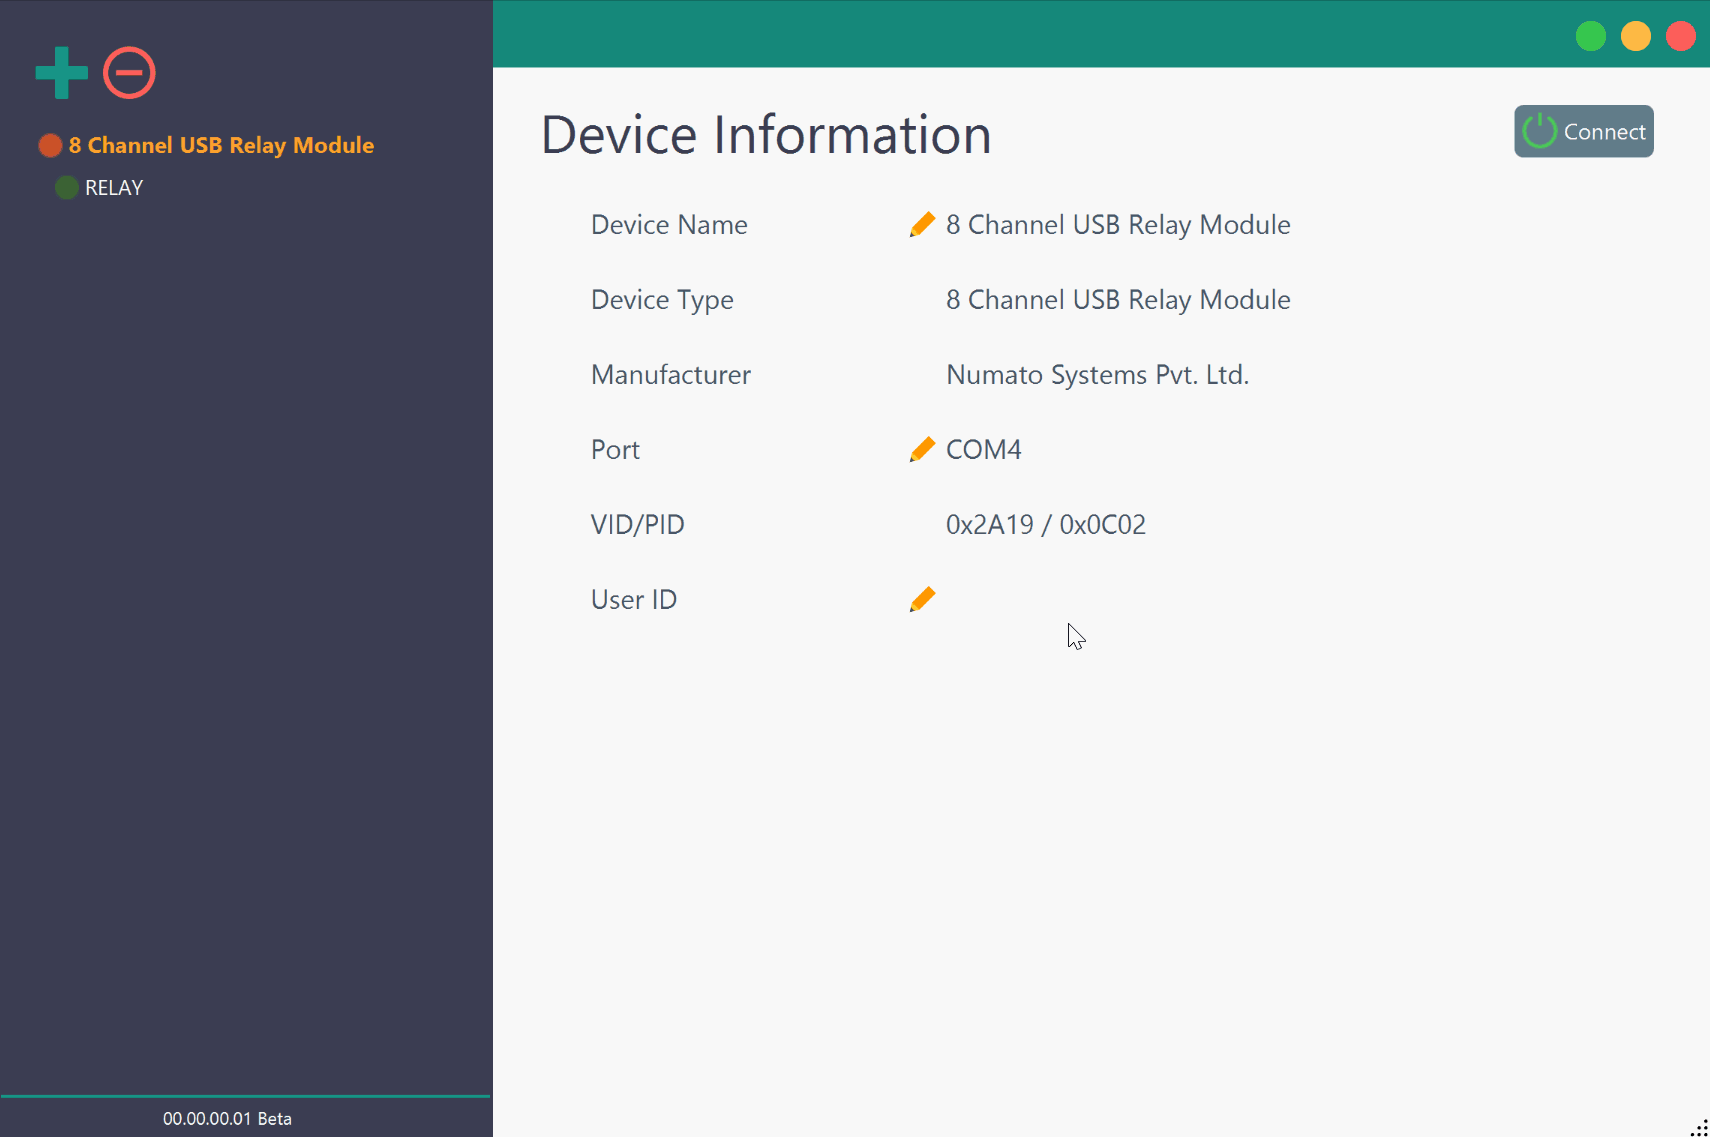
For USB devices the port information is customizable. For Ethernet and WiFi devices, IP address is customizable. User ID can be changed only if connection to the device is active. This is because User ID is stored in the device itself and will require sending a command in the background to the device in order to update the device ID.
Adding Relays and customizing them
To add relays and customize them, connect a device that has relays and navigate to the “RELAY” sub item under the device in the device tree. This will display the Relay Control page. The title of this page can be customized to suit the purpose as shown in the video below. Add relays by clicking the add button on the page. Any number of relays can be selected on the object selection dialog box to add. After adding the relays, each relay can be renamed by clicking the pencil icon on the row corresponding to the relay. Click the save icon to save the name.

Adding and customizing General Purpose Inputs/Outputs
Rhea has separate pages for GPOs (General Purpose Output) and GPIs (General Purpose Input). It is important to note that the GPIOs available on devices has both GPI and GPO functionality on same physical pins/contacts. But on Rhea, GPOs and GPIs are presented on separate pages for ease of management. To add GPI/GPO simply visit the corresponding page, click add button and select the required GPIOs in the object selection window. Please note that since individual GPIO pin/contact GPI and GPO functionality, GPIOs corresponding to any GPI added to the GPI page will not be available on GPO page and vice versa. The page titles and individual GPI/GPO names can be edited by clicking corresponding pencil icons.
GPOs can be controlled by clicking the buttons on individual rows on the GPO page. Status of GPIs will be displayed on GPI page with different colors on buttons on individual rows. Clicking the buttons on GPI rows has no effect.

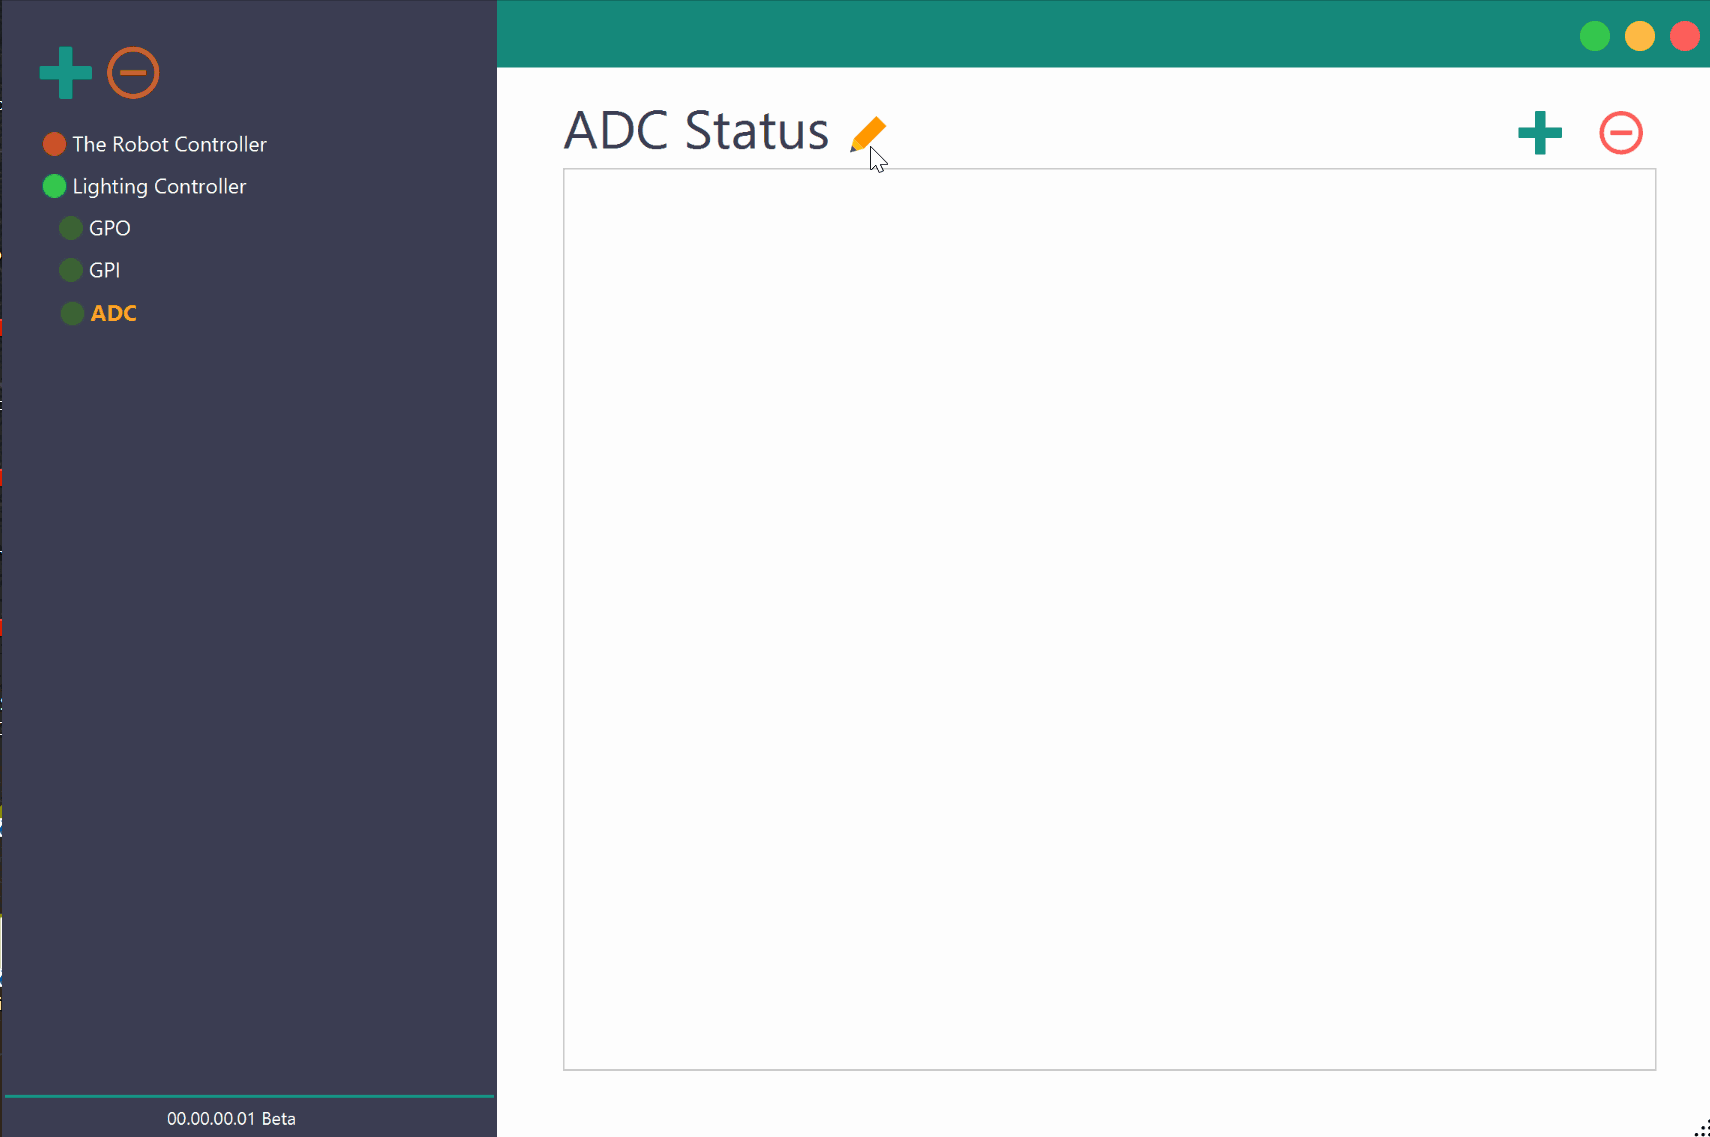
Adding and customizing Analog Inputs (ADC)
You might have already guessed by now how this is done! That is right, just add the analog inputs to the ADC Status page and rename them as necessary. The values corresponding to the voltages present on analog inputs will be displayed on corresponding rows. Since Analog Inputs are shared with GPIO pins, any GPIO pin used in GPI or GPO page cannot be used here. Analog inputs corresponding to those used pins will not be visible in the list of available analog inputs.
Hi
After installing Rhea, when I double-click on the Rhea icon (on desktop), an error shows up: “Could not find the main class: rhea.Rhea. Program will exit.”
Thanks, Guillaume
June 6, 2018 at 3:56 pmHi! Please send a mail regarding this behaviour to help@numato.com. We will try to figure out the issue.
June 18, 2018 at 8:42 amHi,
I try with 32 ch. ethernet gpio it’s can add board and connect but can not add gpo and gpi,
any suggestions please let me know,
Windows 10 64bit,
Invoice Number: 7952
I’m not test other model only test with 32 ch.
Thank you
January 3, 2019 at 12:06 pm