Content:
- Introduction
- Installing Theia
- A first look at Theia’s User Interface
- How to Connect a device
- USB Interface
- Ethernet/WiFi Interface
- Bluetooth Interface
Introduction
Theia is an android application to manage and exercise Numato Lab’s popular Numato Lab’s GPIO and Relay Modules. Theia supports different interfaces like USB, Ethernet, WiFi, and Bluetooth. This application is designed to provide an out-of-the-box experience when working with Numato Lab’s GPIO and Relay Modules. While the powerful command-line-like interface provided by these devices offer very quick and easy setup and use by taking advantage existing software such as Teraterm, PuTTY, HyperTerminal or your own custom script/program, Theia goes one step further by offering a full-fledged GUI that looks great and works right out of the box.

Theia makes it easier to use Numato Lab’s Numato Lab’s GPIO and Relay Modules without needing to learn the commands or other specifics and can be used for basic automation and other tasks. A complete list of devices supported by Theia can be found below.
- USB GPIO Modules
- USB Relay Modules
- Ethernet GPIO Modules
- Ethernet Relay Modules
- WiFi GPIO Modules
- WiFi Relay Modules
- Bluetooth GPIO Modules
- Bluetooth Relay Modules
Installing Theia
Please visit the Theia product page and download the APK from the “Downloads” tab.
NB: Theia application works on Android version 4.0 and above.
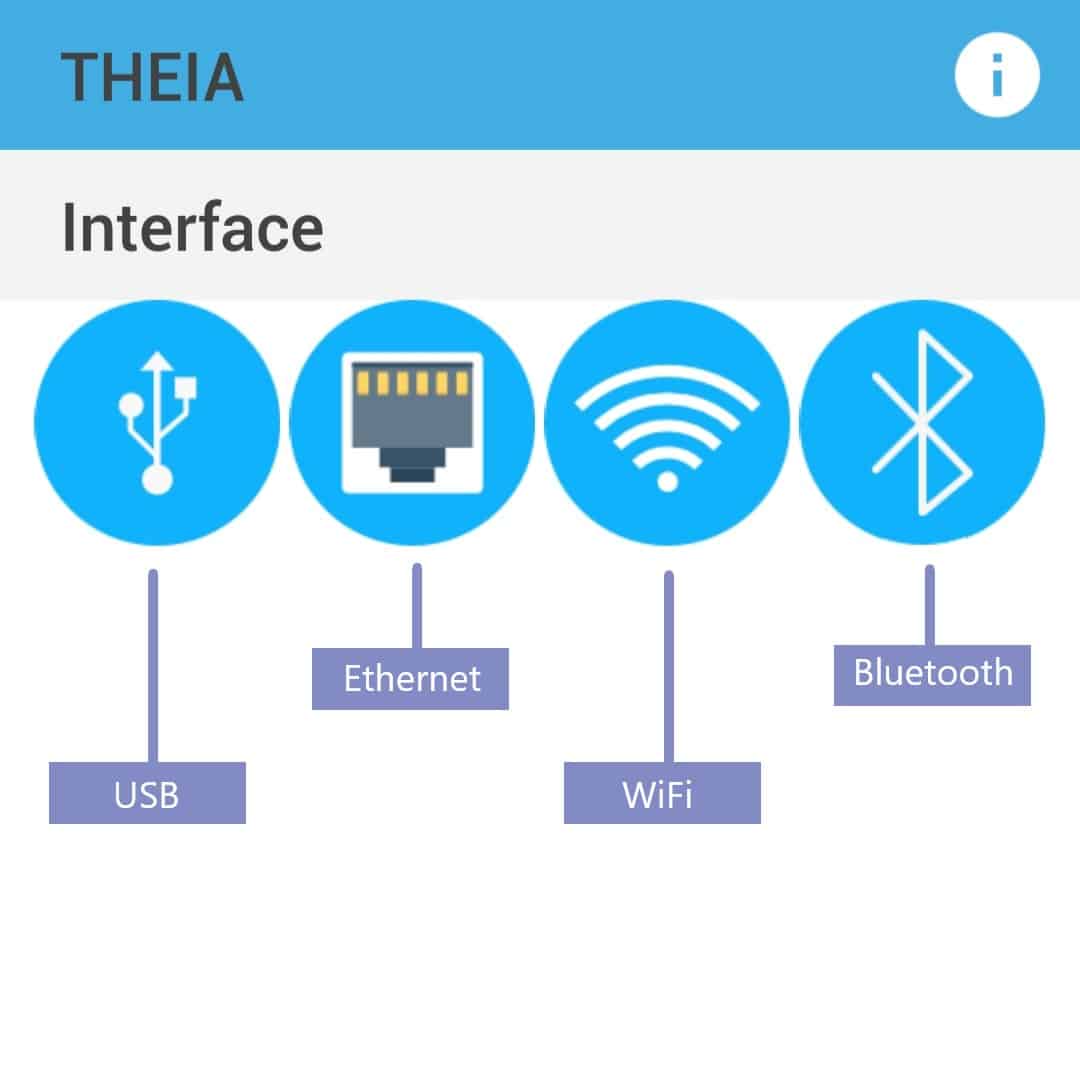
A first look at Theia’s User Interface
Theia’s user interface is designed to be intuitive and easy to use even for users who do not have any existing knowledge of commands or other technical details. Theia’s design makes an emphasis on minimalism and reducing barriers to getting a device working. As shown in the picture below, the main user interface of Theia has an interface pane consisting of USB, Ethernet, WiFi and Bluetooth interface buttons to start the connection to the devices.
How to Connect a device
1. USB Interface
To connect a new USB device to Theia, follow the simple steps given below :
- Connect the USB device to your android mobile phone/tablet using OTG cable.
- Click on the USB button or swipe down in Theia’s home page to refresh and find the connected device.
- Click on the device that appeared on the screen.
Now your device is connected and a screen having 4 tabs – Device information, Relay, GPIO, and Analog will appear.
This means that your device is ready to perform tasks.
The GIFs below show how to exercise with USB devices using Theia.


2. Ethernet/WiFi Interface
To connect a new Ethernet/WiFi device to Theia, follow the simple steps given below :
- Ensure that both android and Ethernet/WiFi devices are connected to the same network.
- Click on the Ethernet/WiFi button. A screen to select device and to provide credentials will appear.
Default credentials are : User name – admin, Password – admin. - Select device, provide the IP address, username and password and click on connect button.
Now your device is connected and ready to perform tasks.
The GIFs below shows how to exercise Ethernet/WiFi devices.

3. Bluetooth Interface
To connect a new Bluetooth device to Theia:
- Click on the Bluetooth button. A screen to select device and enable Bluetooth connection will appear.
- Click on Enable Bluetooth button and discover the device.
- Select the device from the list and click on connect button.
Now your device is connected and ready to perform tasks.
The GIF below shows how to exercise Bluetooth devices.
