Introduction:
This document describes how to access the following Numato Lab Ethernet and Power Over Ethernet Modules.
| GPIO | Relay |
| NL-ETHG-A-016 | NL-ETHR-A-008 |
| NL-ETHG-A-032 | NL-ETHR-A-016 |
| NL-ETHG-C-016 | NL-ETHR-A-032 |
| NL-ETHG-C-032 | NL-ETHR-G-008 |
| NL-ETHG-G-016 | NL-ETHR-G-016 |
| NL-ETHG-G-032 | NL-ETHR-G-032 |
Configuring the module over USB
The modules can be configured by the customer. By default, the module is configured with factory settings. To login to USB configuration settings users need to send a reboot command from telnet or do a factory reset. Refer “User Manual” of the module to know more.
- If the device is in configuration mode (LED D2/LED RJ3(depends on modules) is on), connect the module using a USB B cable to the PC.
- Open PuTTY, click on serial, input the COM Port number of the module, and click OK.

- Power reset the device. You will be prompted to enter the username and password (default is admin).
- Once logged-in successfully, configure the module by sending configuration commands described in user manual.
- Reboot the module using ‘reboot’ command.

- You will be able to see the IP address of the module and your module is ready to work with.
Accessing the module
The module can be accessed and controlled using the following options.
- Through serial terminal software supports TELNET
- Through web interface
- Through HTTP link
Through TELNET
The simple set of ASCII based human-readable command set supported by this module makes controlling relays/GPIOs via TELNET protocol very easy.
The following sections give examples of how to configure and use the module with PuTTY.
To use this module with PuTTY, please follow the steps below.
- Connect the module to the PC or LAN. Refer “User Manual” to know more.
- Open PuTTY, click on other and select TELNET from drop down menu and enter the IP address corresponding to the module, leave the port number as 23.
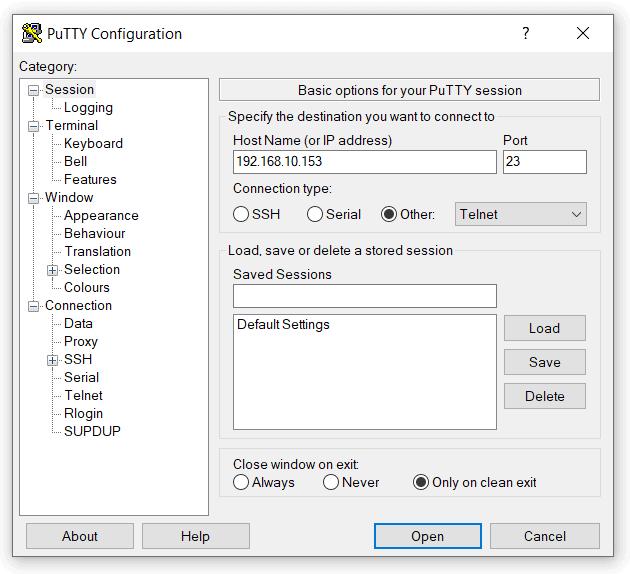
- Click Open.
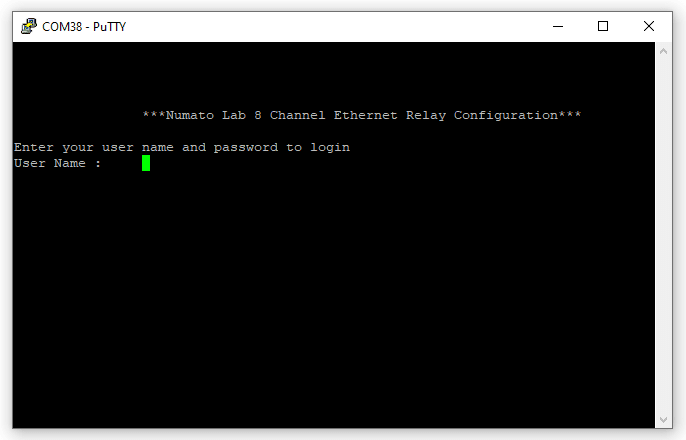
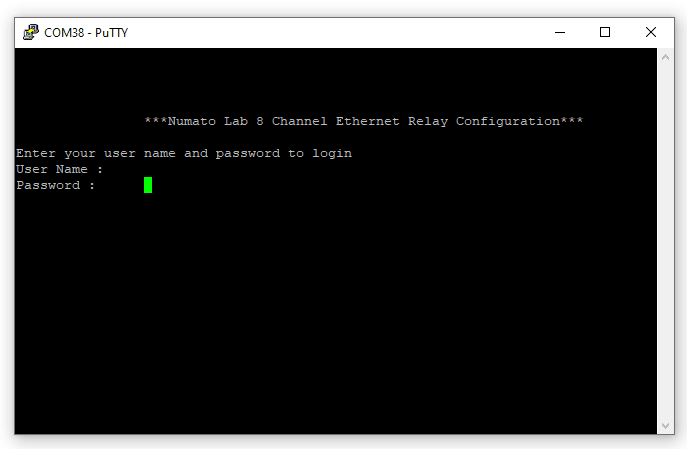
- You will be prompted to enter the username and password of the module (default is admin)
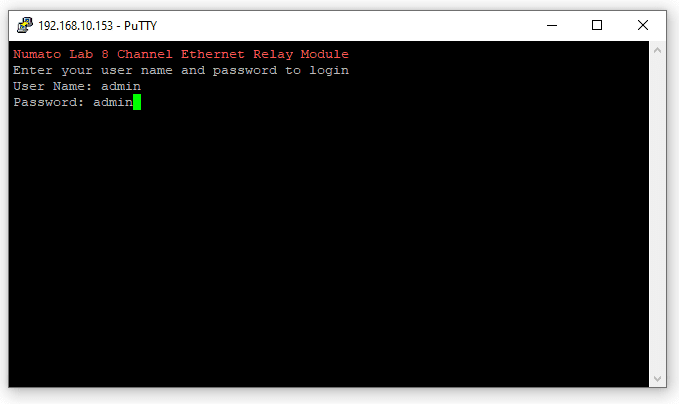
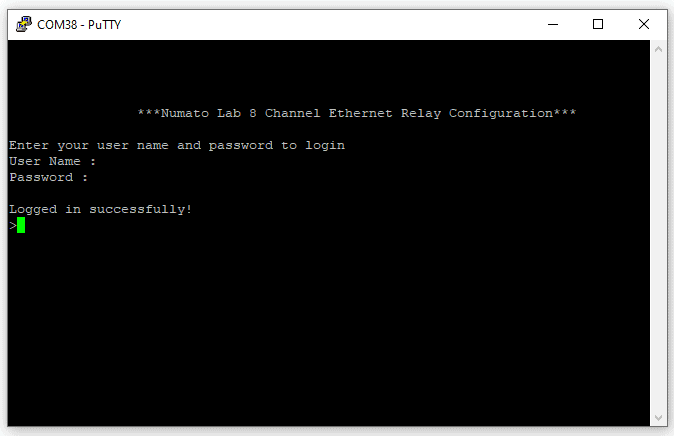
- Once logged-in successfully, the module is ready to work with.
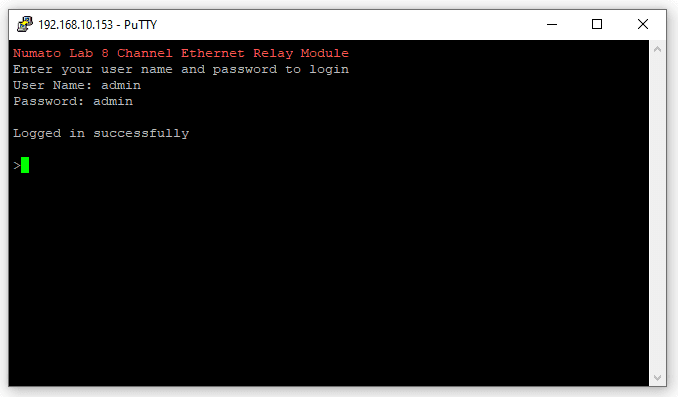
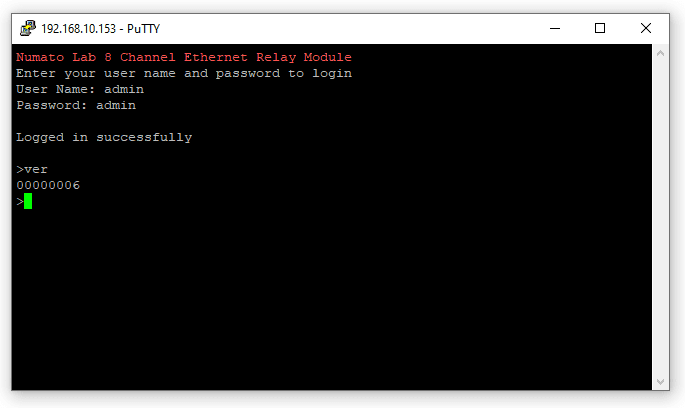
- Control or monitor the device using the command set described in user manual
Through web interface
The easiest method for controlling the module is through a web page served from the device.
- To open the administration web page, type in the IP address into the address bar of any web browser and press enter.
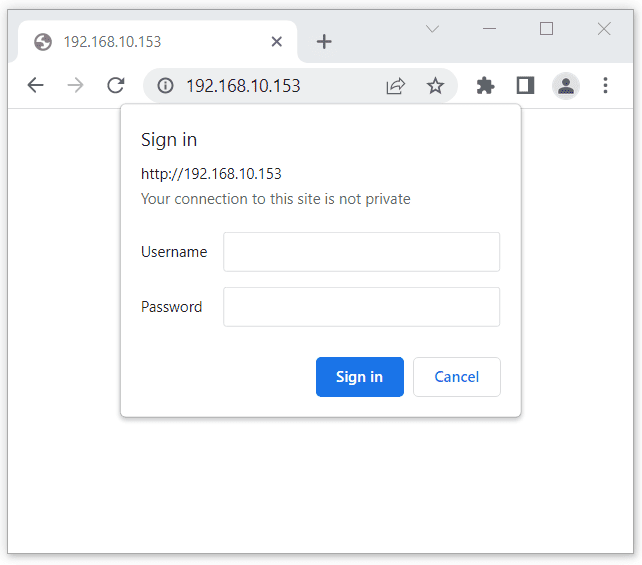
- You will be prompted to enter the username and password. The default username and password are ‘admin‘. You may change the username and password once logged in.
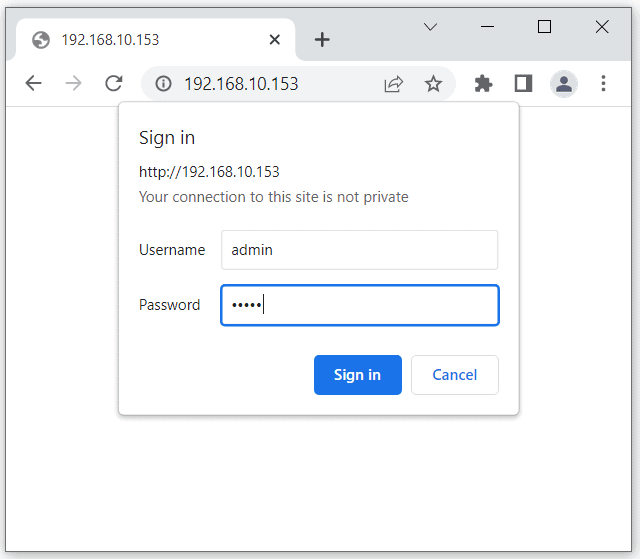
- Enter the default username and password then click Sign in.
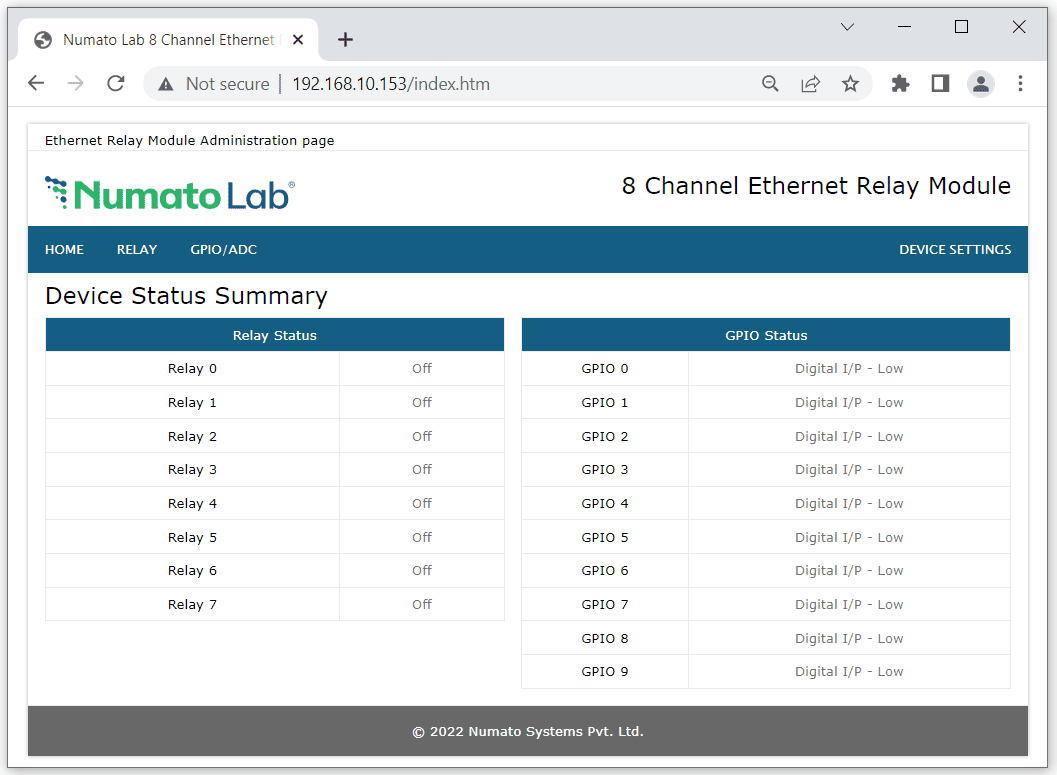
- You will be presented with the device home page that shows the status of Relays and GPIOs according to the module.
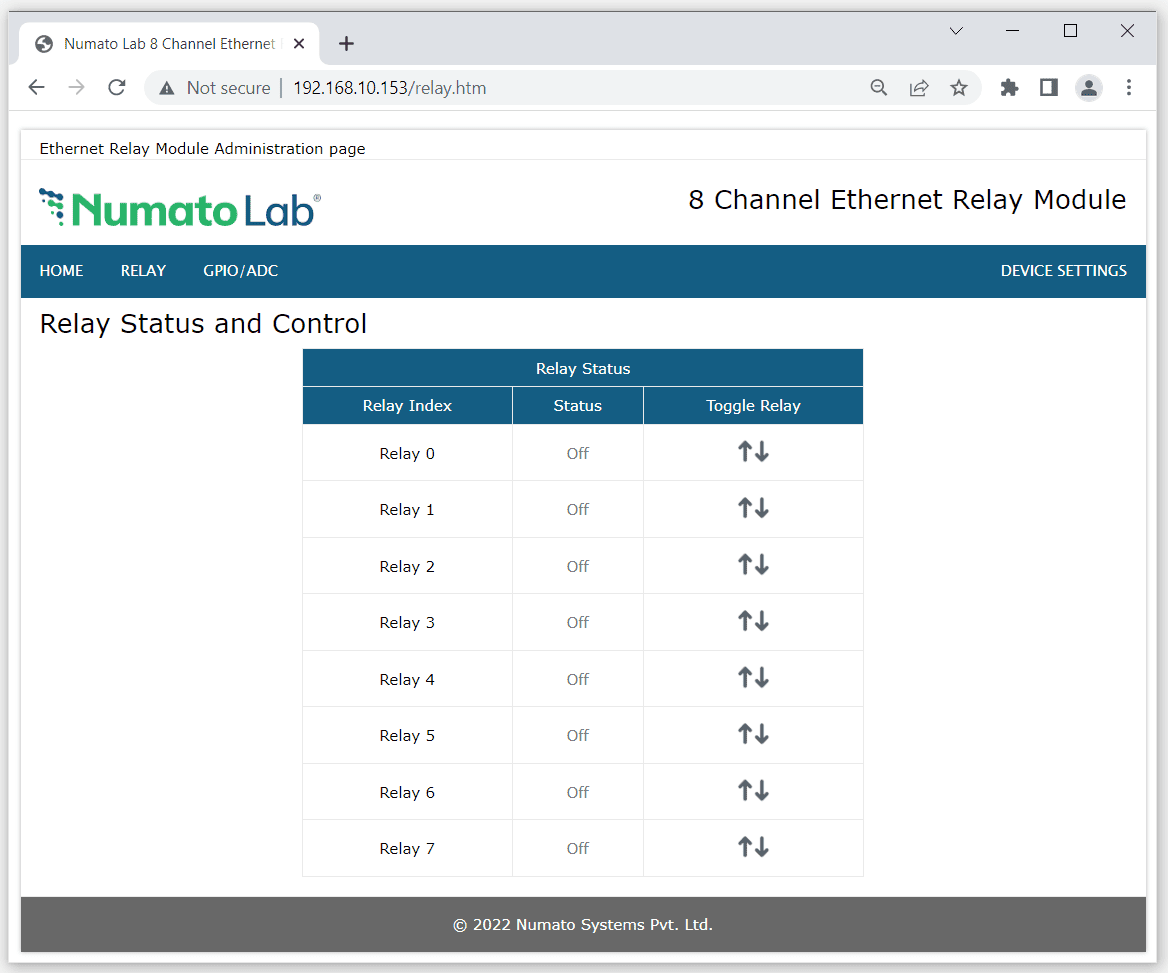
Relay Status and Control
This page will be available only for the Numato Lab Ethernet/PoE Relay modules. Click on ‘Relay’ menu to monitor and control the relays. Relays can be turned ON/OFF with just a click on ‘Toggle Relay’ button for corresponding relays. Relay status is real time and is visible correspondingly.
GPIO Status and Control
This page will be available only for the Numato Lab Ethernet/PoE modules which has onboard GPIOs.
Click on ‘GPIO/ADC’ menu to monitor and control the GPIOs. GPIOs can be set/clear with just a click on ‘Toggle GPIO’ button for corresponding GPIOs. GPIO status is real time and is visible correspondingly.
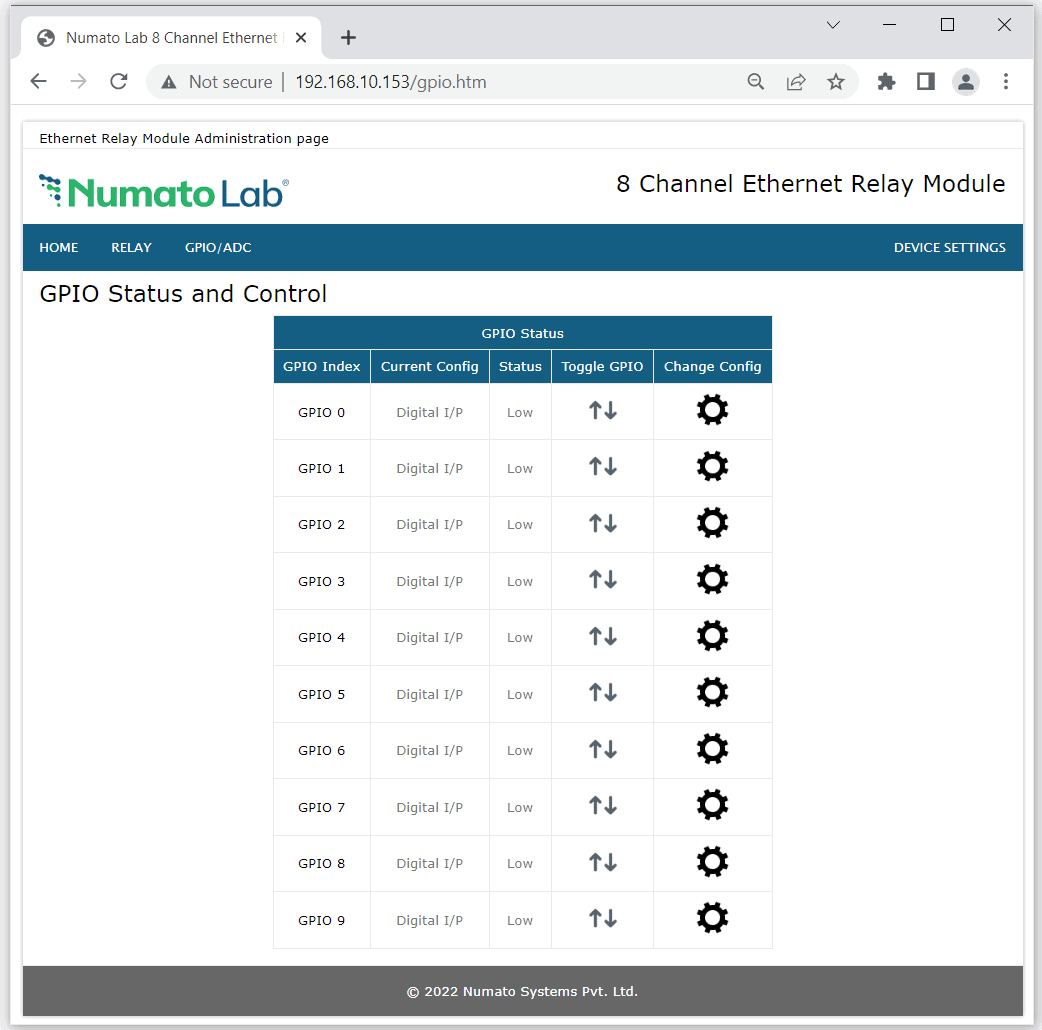
Individual GPIO can be configured in three modes(depends on modules) .
- Digital Input (I/P)
- Digital Output (O/P)
- Analog Input
Digital Input (I/P)
This will be available only for the Numato Lab Ethernet modules. To configure a GPIO as Digital Input, click on corresponding GPIO’s ‘Change Config‘ button. Select “Digital I/P” radio and click the “Submit” button.

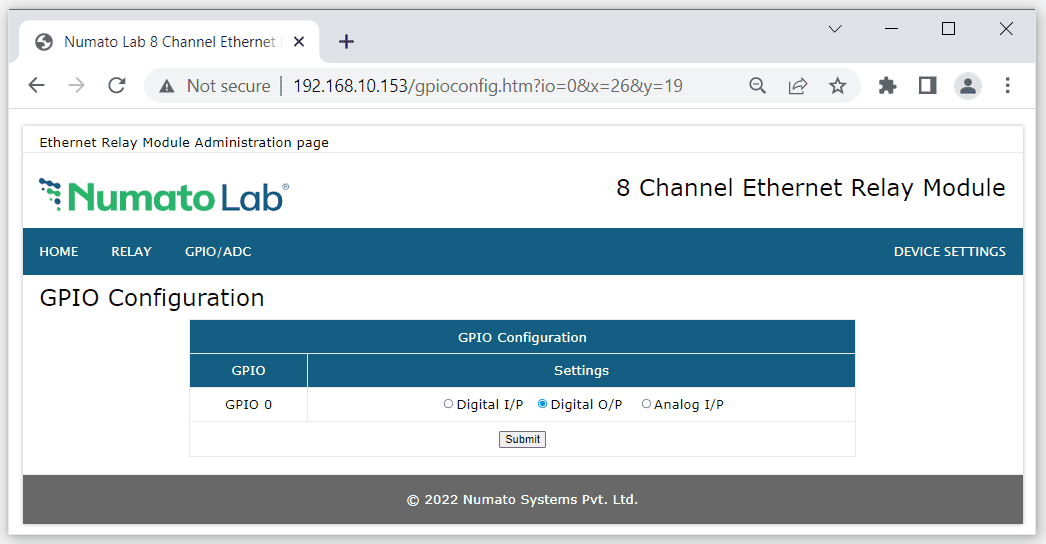
Digital Output (O/P)
This will be available only for the Numato Lab Ethernet modules. To configure a GPIO as Digital Output, click on corresponding GPIO’s ‘Change Config‘ button. Select “Digital O/P” radio and click the “Submit” button.
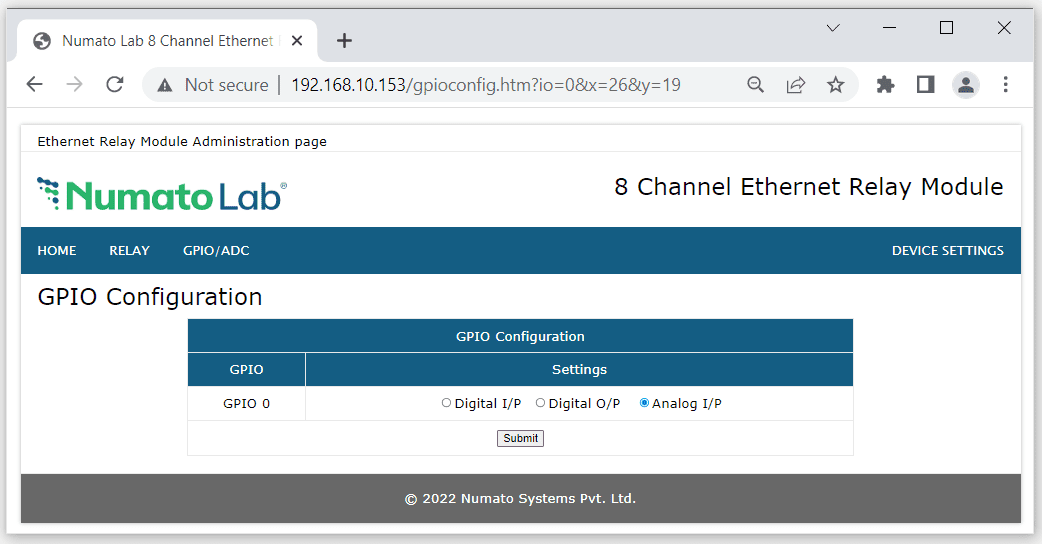
Analog Input
This will be available only for the Numato Lab Ethernet modules. To configure a GPIO as Analog Input, click on corresponding GPIO’s ‘Change Config‘ button. Select “Analog I/P” radio and click the “Submit” button.
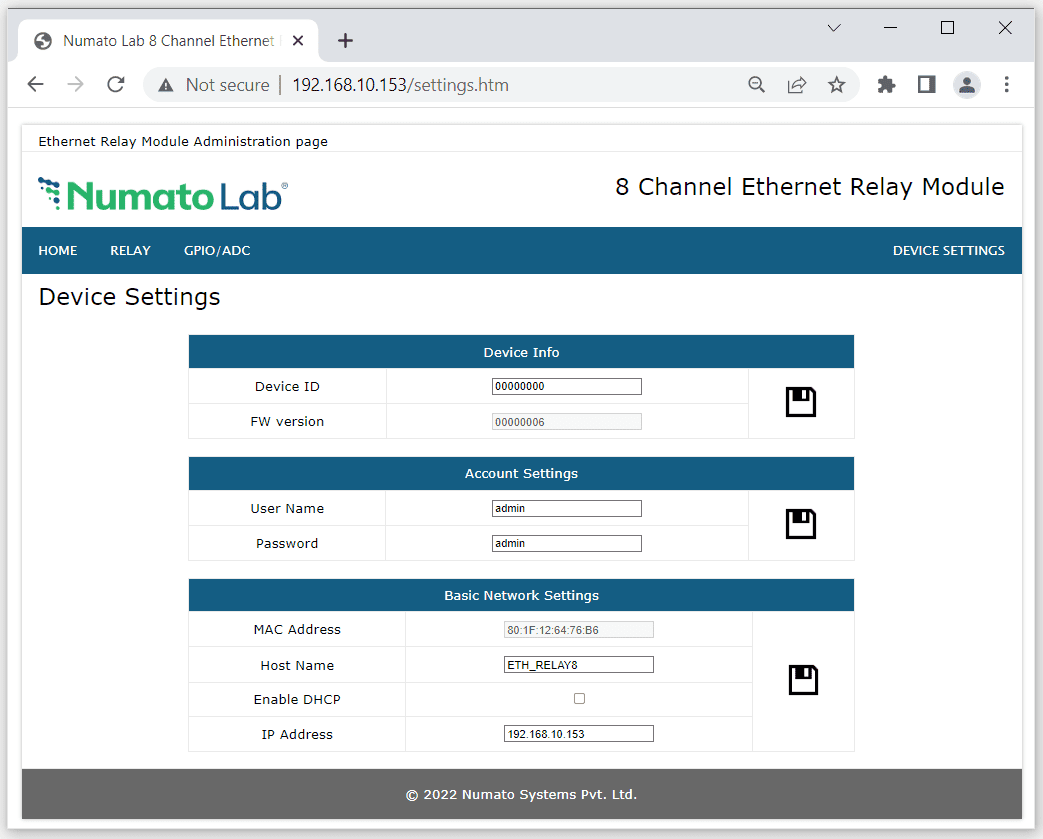
Device Settings
This page displays the current firmware version, device ID, account settings and basic network settings. Click on ‘Device Settings’ menu to access this page. A logged-in user can change and save device ID, username, password, and network settings. After saving changes in network settings, the board will reboot with the new network settings.
Through HTTP
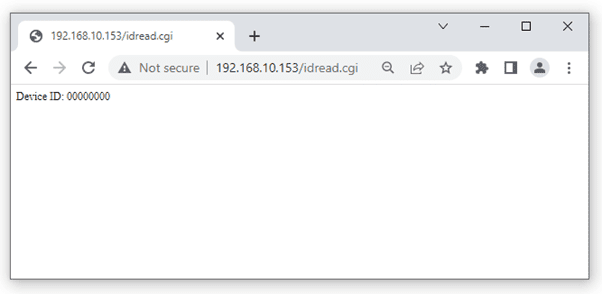
Another easiest method for controlling the module is through pre-defined HTTP links provided for the device. Just copy and paste the text with your module’s IP address on the address bar of any of the browser will do the corresponding action to the module.
For example, if the link is dedicated to read the relay 0 or the GPIO 0, once the customer clicked on it, it opens a web page with the clicked link as address and do the read action and print it on the webpage.
Refer “HTTP Command Set” documentation to know more
Note: Features may change depending on each module. Refer User Manual of the module to know more.