Introduction:
OpenOCD, which stands for Open On-Chip Debugger, is an open-source software solution that facilitates the debugging of a diverse range of chips, devices, and boards through various supported debug interfaces. In this context, OpenOCD can be utilized to program the Zynq device on the STYX Z7 FPGA Module. This board is equipped with a high-speed USB 2.0 interface that connects directly to the JTAG signals of the FPGA IC, enabling programming via its onboard USB interface without the necessity for an external JTAG programmer.
Moreover, should you encounter a device that is not currently supported by OpenOCD, the open-source nature of the software allows you to implement support for that device and submit patches, thereby contributing enhancements for the broader community? OpenOCD is extensively employed for both debugging and in-system programming of embedded target devices.
The following steps will walk you through configuring the Styx Z7 board using OpenOCD.
Step 1:
Download and extract the latest Windows version of OpenOCD from the GitHub link to a suitable location in your system.
Step 2:
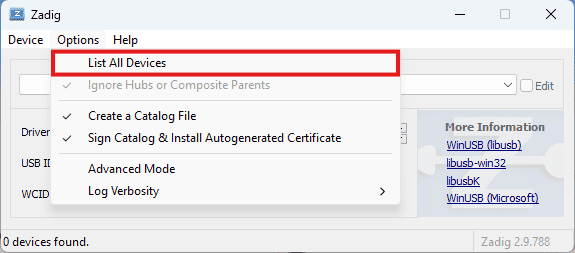
To program the Styx Z7 FPGA Module through its USB interface, “WinUSB” drivers must be installed instead of the default drivers installed by Windows. To install “WinUSB” drivers, download and run the latest version of “Zadig“. Go to Options click “List all devices” and select it.
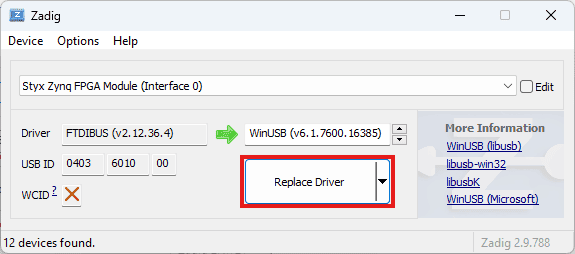
Select “Styx Zynq FPGA Module(Interface 1)” as shown in the image below.

Step 3:
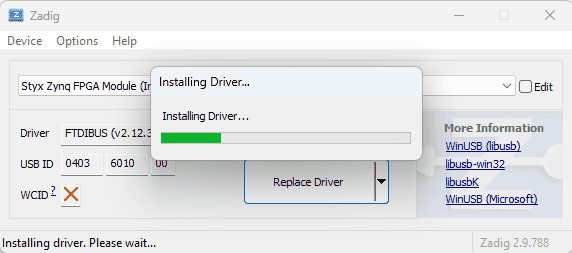
Select “WinUSB” drivers in the target driver to replace the “FTDIBUS” drivers. Click “Replace Driver” to install WinUSB drivers as follows.
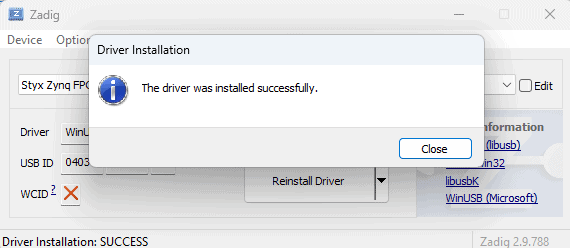
You will see the following message if the drivers were installed correctly.
Step 4:
Download Numato_Styx.cfg from here. Save the downloaded “Numato_Styx.cfg” file to the "openocd/scripts/board" directory.
Step 5:
Download numato_zynq.cfg from here. Save the downloaded “numato_zynq.cfg” file to the "openocd/scripts/cpld" Directory. This file is used for programming CPLDs (Complex Programmable Logic Devices) and FPGAs (Field-Programmable Gate Arrays). This file contains specific settings and commands that instruct OpenOCD on how to communicate with the hardware and load programs onto it, which includes the necessary parameters, interface settings, and programming instructions for working with Zynq devices.
Step 6:
Open Command Prompt or PowerShell in the “bin” directory which is located in the “openocd” folder.
Step 7:
Use the following command in Command Prompt or PowerShell to program FPGA. You need to replace <bitstream file> with the actual location of your .bit file. OpenOCD should show output similar to the image shown below if the programming process is finished successfully.
./openocd.exe -f board/Numato_styx.cfg -c "init" -c "pld load zynq.pld <bitstream file>" -c "shutdown"
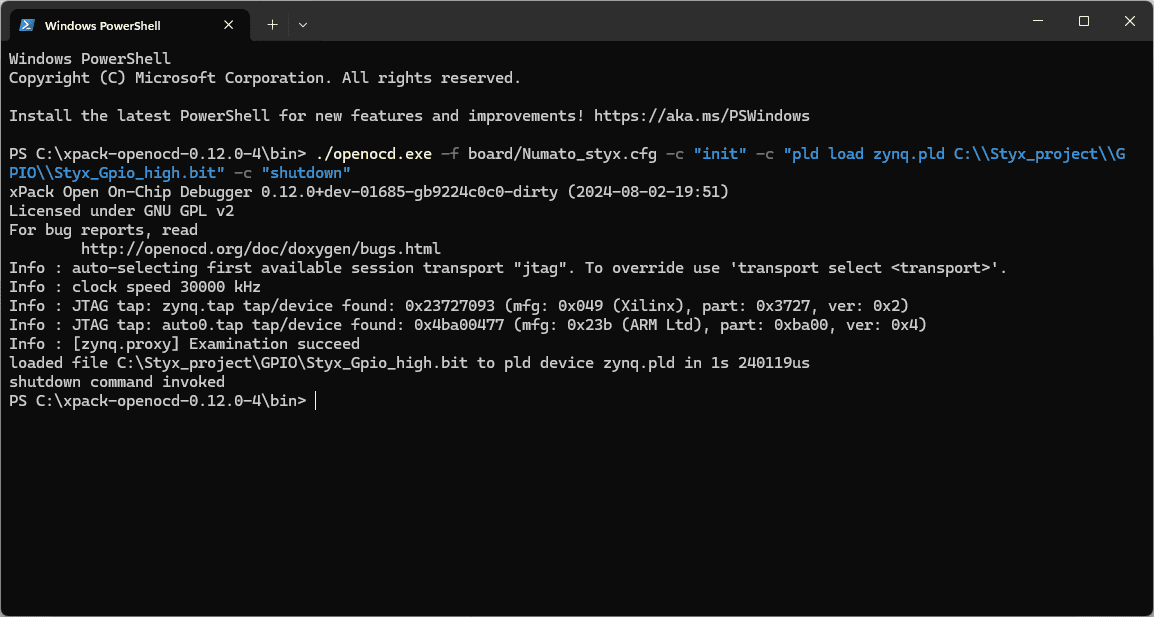
Provided that all steps have been executed correctly, the bitstream has been successfully programmed to the Styx Z7 FPGA using OpenOCD, without the requirement for external JTAG hardware.”