Introduction
Numato Opsis is shipped with HDMI2USB firmware on-board. This makes it just a simple plug-and-play job to capture HDMI streams over USB and route video among various sources to sinks. But before the board can be accessed on Windows, the appropriate driver needs to be installed. This article will guide you through the process of installing Windows driver for HDMI2USB firmware running on Numato Opsis.
Steps
Step 1: Go to product page of Numato Opsis board: http://numato.com/numato-opsis-fpga-based-open-video-platform/ and select the “Downloads” tab. Download the the driver zip file that is listed on this tab.
Extract the zipped file at a convenient location.
Step 2: Connect an external 12V power supply to Opsis. Then connect Opsis to the host PC using a USB Type-B cable. As soon as Opsis is connected, a blue led will glow momentarily, indicating that Opsis is configuring itself. Another red led will keep glowing indicating that power is available to Opsis.
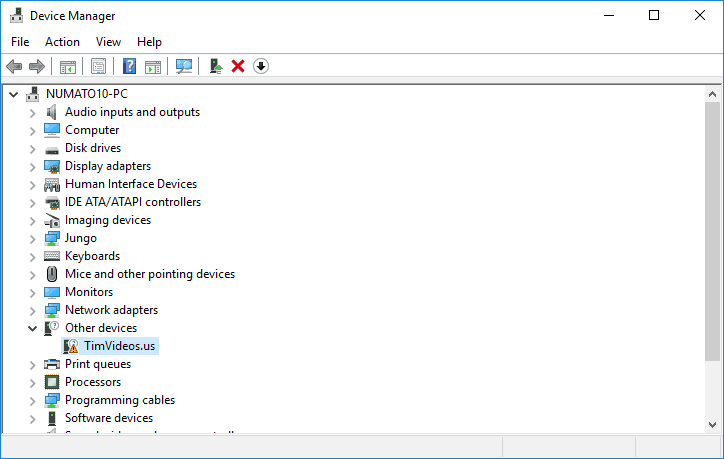
Step 3: Open Device Manager in Windows. A new device will show up with name “TimVideos.us” under “Other Devices”.
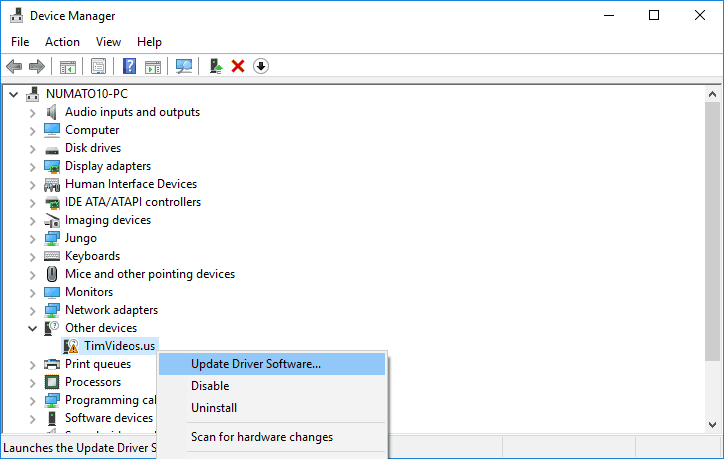
Step 4: Right click on the device named “TimVideos.us” and click “Update Driver Software…”
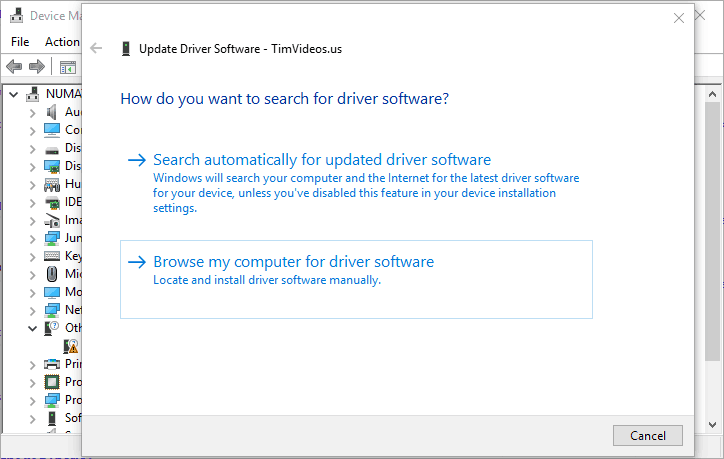
Step 5: In the dialog window that pops up, select the second option “Browse my computer for driver software”
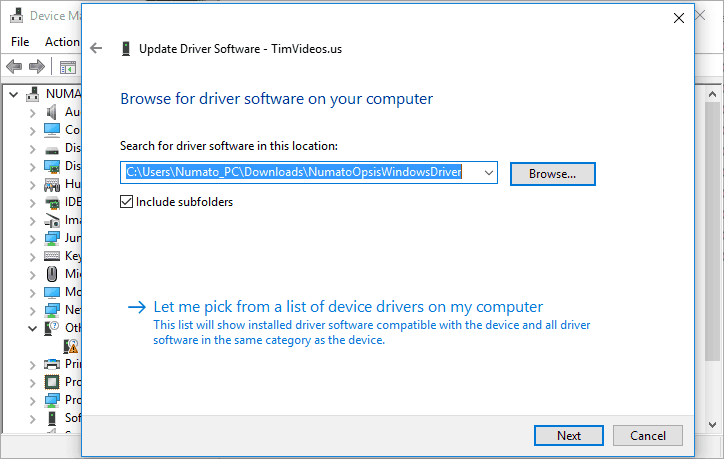
Step 6: In the next step, browse to the folder where we just extracted the zipped file.
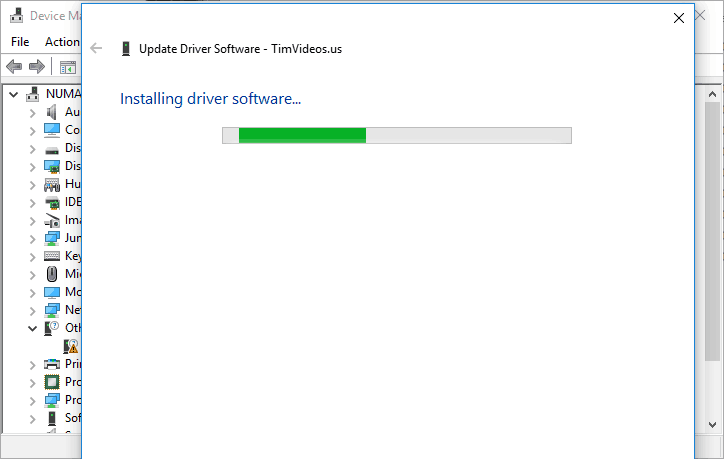
Step 7: Click Next and wait while Windows installs the driver.
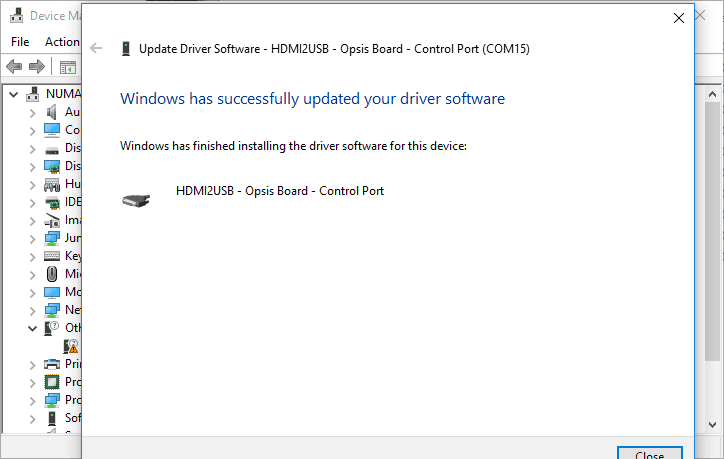
Step 8: Close the dialog window once the driver installation is complete.
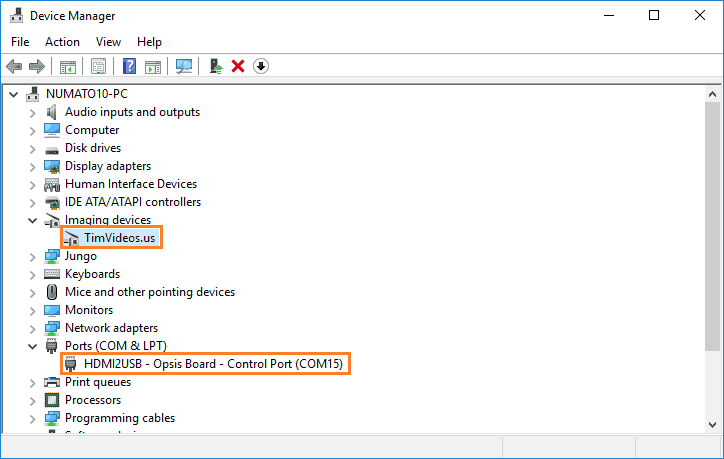
Step 9: Now Opsis will be displayed as two different devices in Device Manager. One as a standard webcam interface which can be used to capture videos, and the other as a serial COM port which can be used to control the HDMI2USB firmware.
Awesome! You can now go ahead and play with HDMI2USB running on Opsis. Follow this tutorial on getting started with HDMI2USB on Windows!

